
My fourth recipe was something I’ve never thought I would make: pavlova! I have always been a little intimidated by this dessert because I have seen so many beautiful versions from professional bakers online, and it requires some techniques that I’ve never used before. The base of the dessert (before toppings/fruit) relies almost completely on how you whip the egg whites and add stabilizers, and then how you bake the pavlova in the oven and cool afterwards. If you make any mistakes, it is really easy for the pavlova to collapse in on itself or become too dry as it bakes.
Because I was so aware of all the pitfalls, I chose my recipe and then did some more research around the internet to see what other bakers had to say in comparison. It turns out there’s lots of dispute around how low the oven temperature should be, how long you should whip your egg whites in the mixer, and whether or not you should crack the oven door as the pavlova cools. I ended up using the original recipe I had picked out, but modified a couple things, like lowering the oven temperature a little bit and not cracking open the door as instructed, but leaving it closed the entire time for baking and cooling. I also chose my own toppings rather than the ones in the recipe. This ended up producing a really great pavlova, so I was happy I did my research rather than just following the first recipe blindly.
Here is a link to the first recipe, and then the other sources I used for reference:
https://food52.com/recipes/77123-berries-and-cream-pavlova
https://zoebakes.com/2018/07/17/pavlova/
“Zoebakes” was particularly useful because she references a lot of the original Australian/New Zealander techniques that are traditional to the dessert.
I was so focused on getting the techniques right that I forgot to take any photos until after the pavlova came out of the oven! I completely forgot to take pictures of whipping the egg whites because it was such a complex process. The recipe asks you to slowly increase the speed of your stand mixer as you gradually add dry and then wet ingredients to the whipping eggs.
But essentially, I whipped the egg whites with sugar, salt, vanilla extract, cornstarch, and white vinegar to make the pavlova mixture. Even though you whip the egg whites until they reach stiff, glossy peaks, the cornstarch and white vinegar are still necessary to stabilize the meringue and give it a marshmallowy, puffy inner texture. Then, I spread the meringue onto parchment paper with a pre-traced circle template before putting it into the oven at a low temperature of 225. After cooking for a little more than an hour, and without opening the oven door at all, I turned off the oven and allowed the pavlova to cool completely before taking it out. (If you open the oven door, the meringue can collapse in on itself).
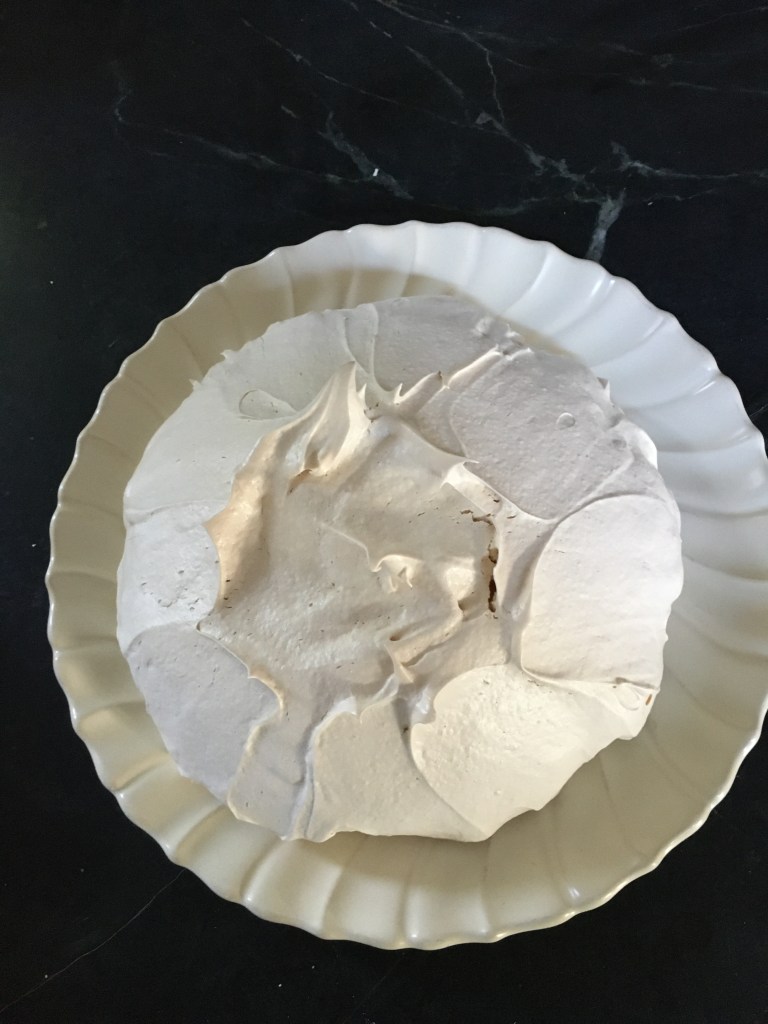
This is how the pavlova looked when it finally came out of the oven! I was happy with it because it had a dry outer skin and felt extremely light and hollow, so I knew it had a soft inner texture. It also maintained its shape very well and remained voluminous, so I was glad I did not open the oven door at all.
For toppings, I decided to use the leftover egg yolks from the recipe to make a raspberry curd filling. I also whipped heavy cream and left it unsweetened because the pavlova itself is really sweet. I topped that with fresh raspberries.
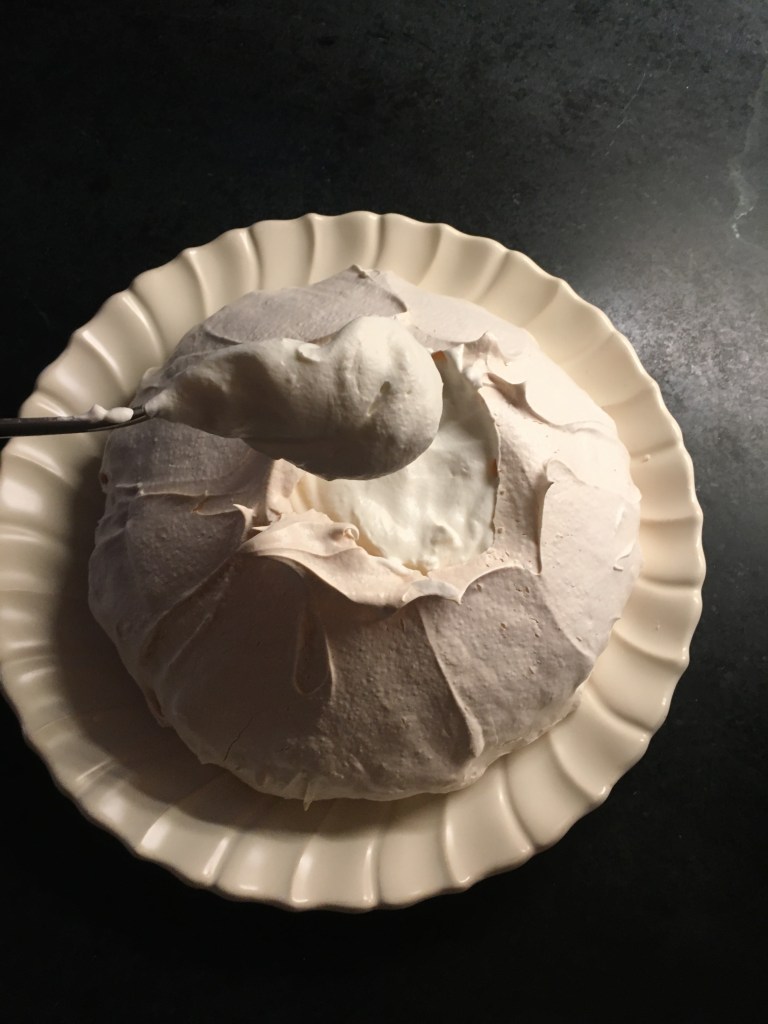
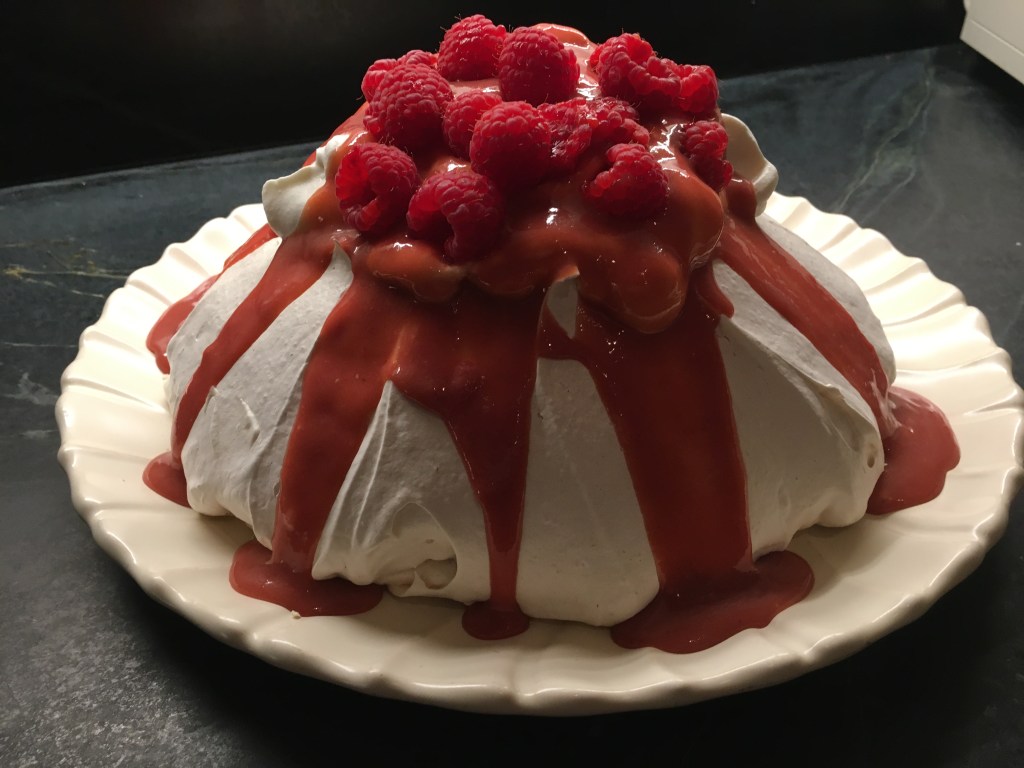
To top the pavlova, I used a spoon to crack open the top and get to the hollow inside, which I filled in with the whipped cream. The curd went on top of that and then the raspberries. It ended up looking very pretty, almost like a sweet volcano!
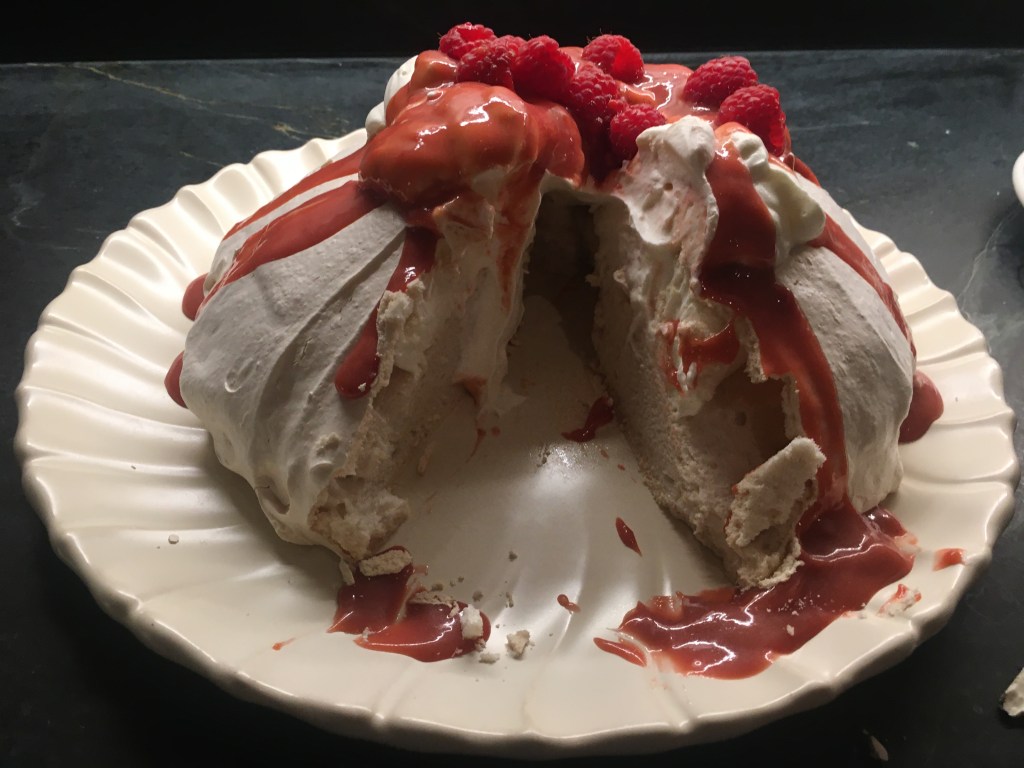
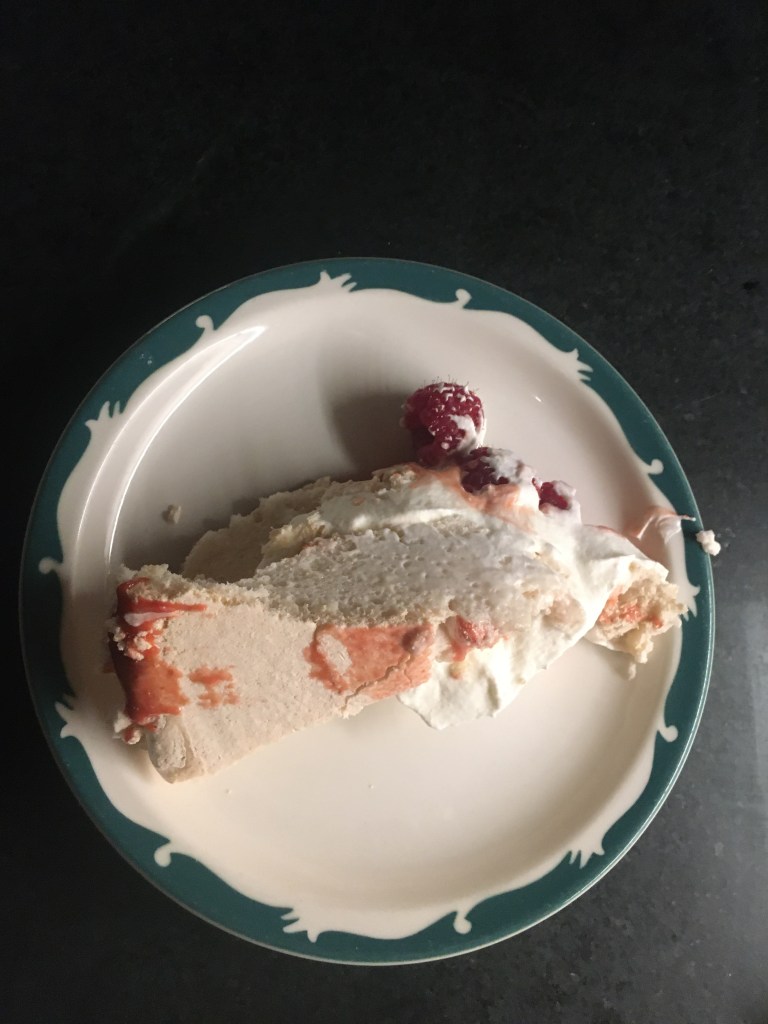
Cutting into the pavlova was an almost magical experience! I couldn’t believe that I had created two completely different textures — dry and crackly and marshmallowy soft — by basically just whipping and baking egg whites. The meringue was super light, airy, and sweet, and the pillowiness made for a melt-in-your-mouth feel. It paired perfectly with the sweet-tart curd and the cold unsweetened whipped cream. My family loved it and we all had seconds. I would absolutely make this again, especially for a fancy dinner party or other celebration because it is such a stunning and impressive dessert.

