
For my fifth and final recipe, I chose something pretty complicated: macarons! They are a classic example of French pattisserie — like an elevated version of a sandwich cookie. They are very well known for their light, airy texture and gem-like appearance. They have become a bit of a fad lately– with many different vibrant colors and interesting flavors! I chose to keep it simple with a chocolate ganache filling and raspberry jam in the center.
This recipe, like pavlova, has always been pretty intimidating to me because it is notoriously finicky — even the temperature and humidity levels outside on the day you bake them matters! Thankfully, I chose a very detailed, step-by-step recipe with lots of notes and comments so I could learn everything before baking. Here is the link: https://sallysbakingaddiction.com/step-by-step-guide-to-french-macarons/
And here are some photos and explanation of the baking process:
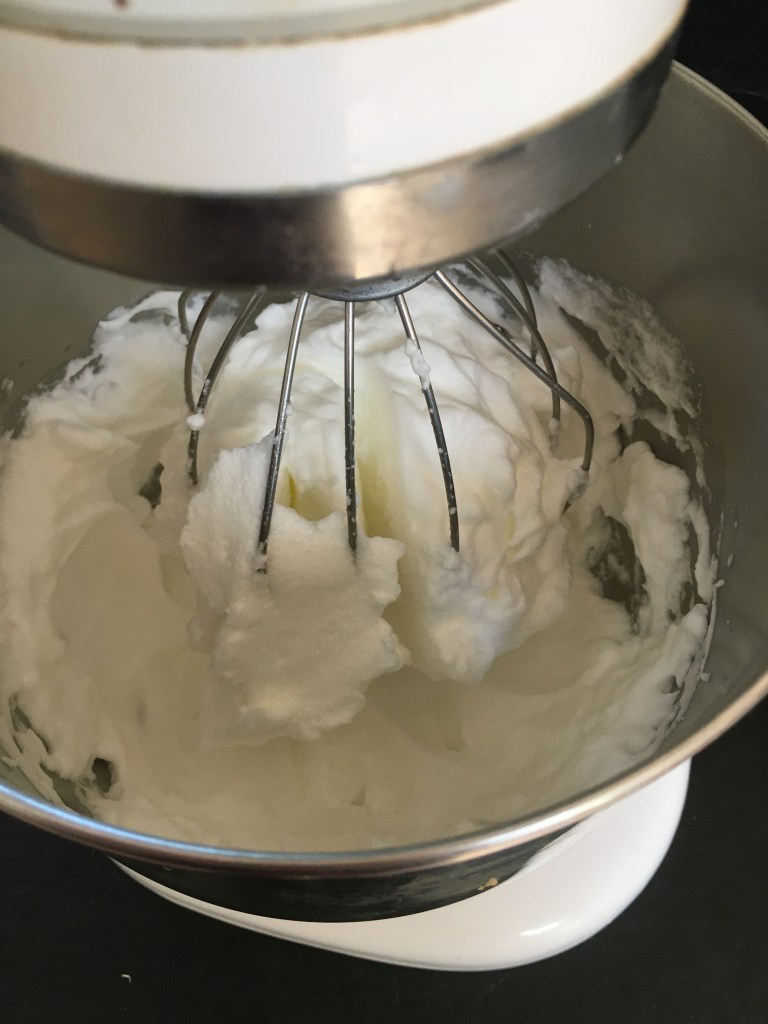
The batter has two main components: an almond flour/confectioner’s sugar mixture and stiffly whipped egg whites. Significantly, the recipe strongly suggested that I separate my eggs the day before baking and leave the whites out on the counter overnight to come to room temperature. I am familiar with the technique of bringing ingredients like eggs and butter to room temperature before using them but have never left anything out overnight before. I learned that this technique is called “aging” and increases the elasticity of the egg whites to make for better stiff peaks. I think it worked well and would consider “aging” my eggs again!
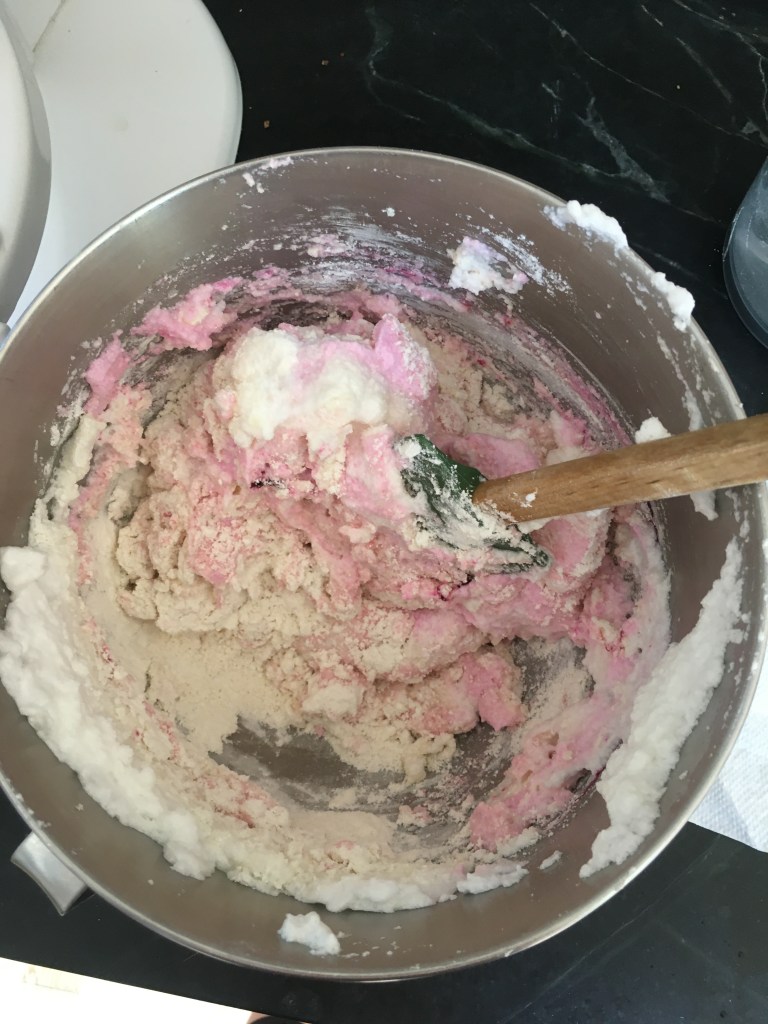
After whipping the egg whites (plus a bit of salt and sugar) to stiff peaks, you add coloring and flavor, and then the flour/confectioner’s sugar mixture. I chose to use a little bit of “Fuschia” gel food coloring to get that raspberry-like color and I also added some almond extract to enhance the flavor. This photo looks a little messy because the process of combining the flour mixture with the egg whites was sloppy – I had to very, very gently fold with a spatula for what felt like a very long time before reaching the “smooth and glossy” consistency the recipe promised.
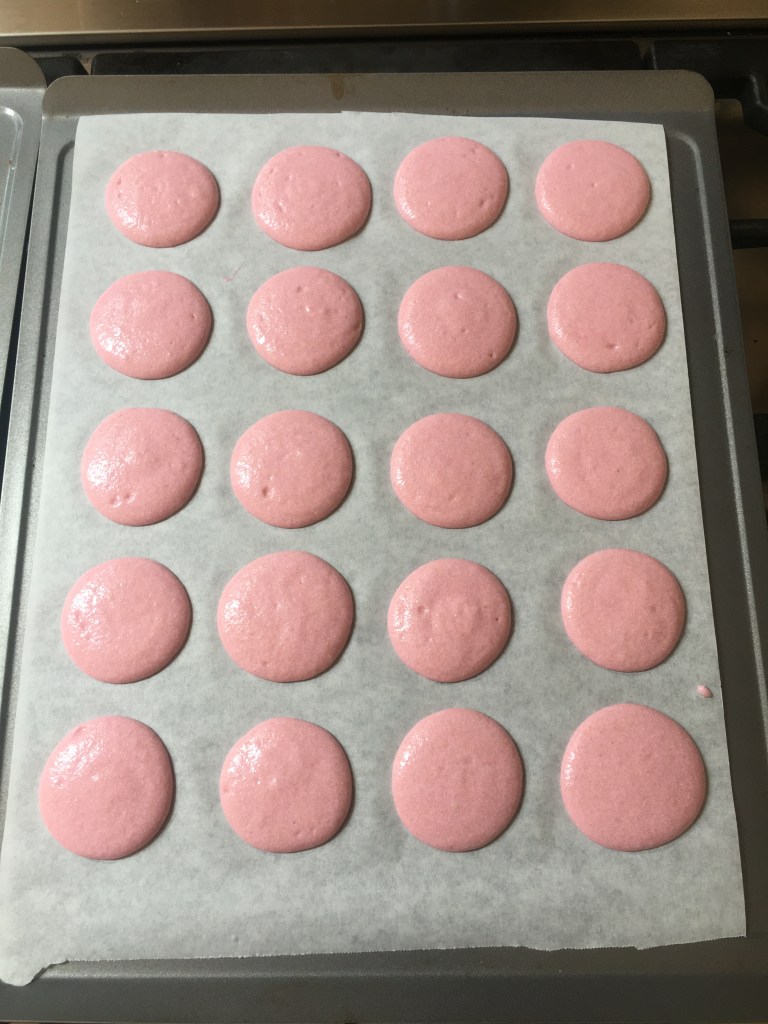
After the mixture was smooth, I rested it on the counter for half an hour. Then, I piped it into rounds on a baking sheet and rested it again for an hour. This allows the shells to dry out and is crucial for a crispy top and for the “feet” of the macaron (the little bubbly stuff around the edges) to develop. After an hour, I could touch the unbaked rounds without anything sticking to my finger, so I knew they were dry enough to go in the oven.
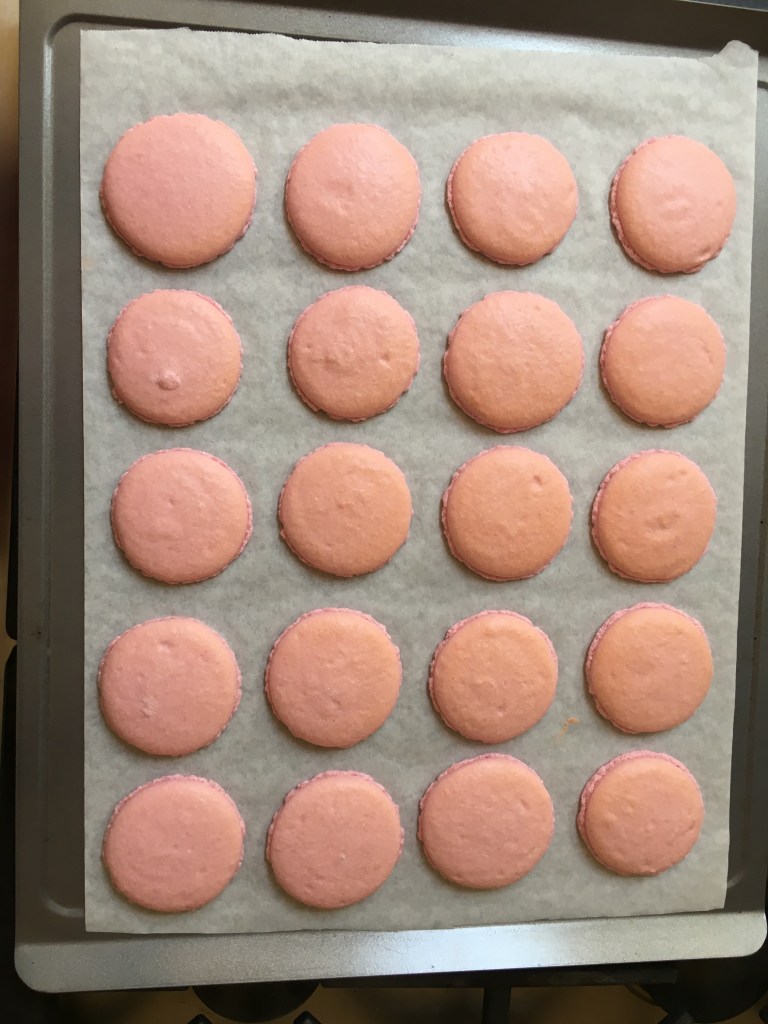
Here’s what they looked like right out of the oven – I was super happy that they puffed up, dried out, and, most of all, developed the famous “feet” that indicate your technique is correct!
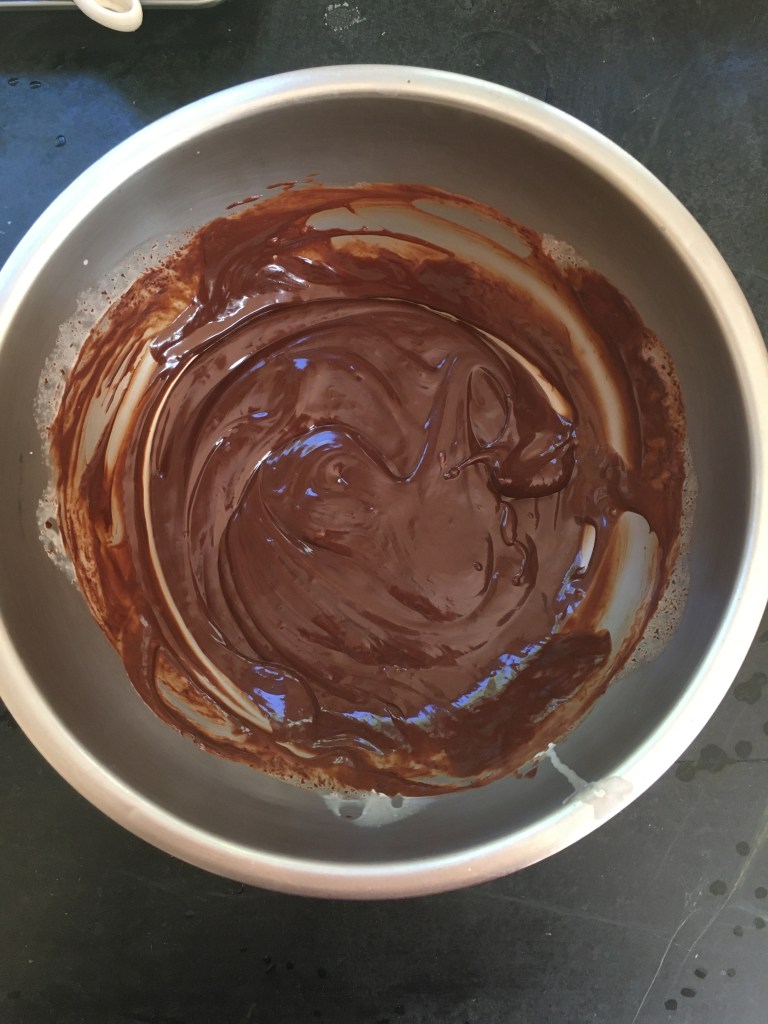
While they cooled, I made a very simple ganache from bittersweet chocolate and hot heavy cream.
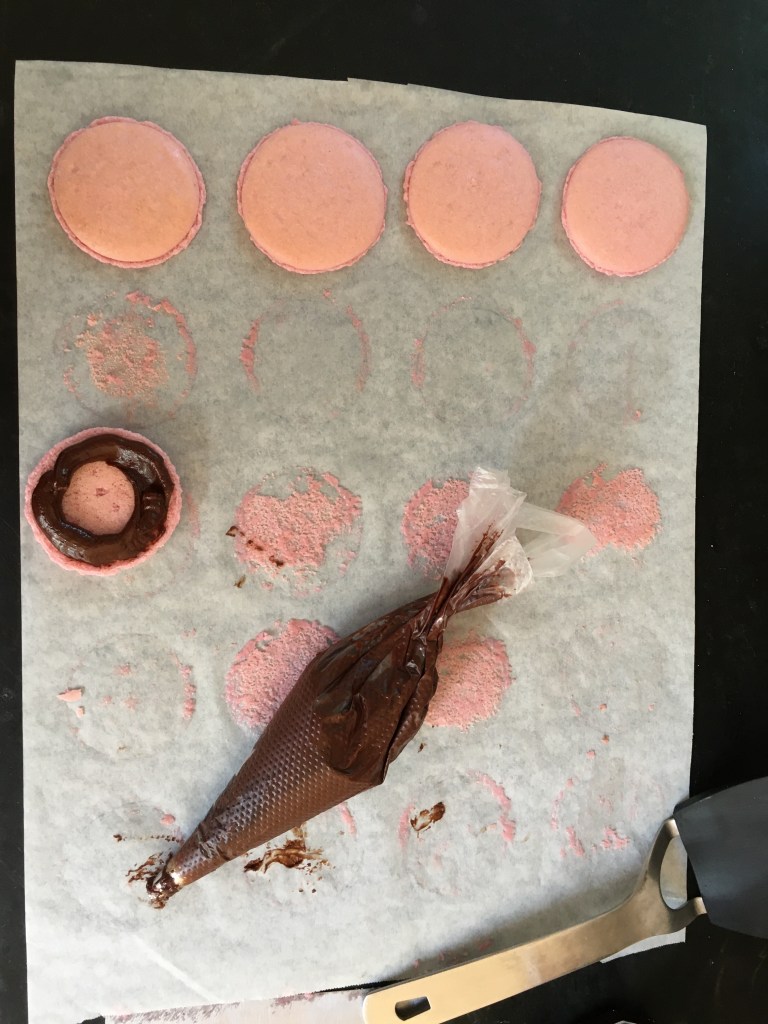
Assembling the macarons was the most fun part! I piped a circle of chocolate ganache and then spooned in a little raspberry jam from the fridge.
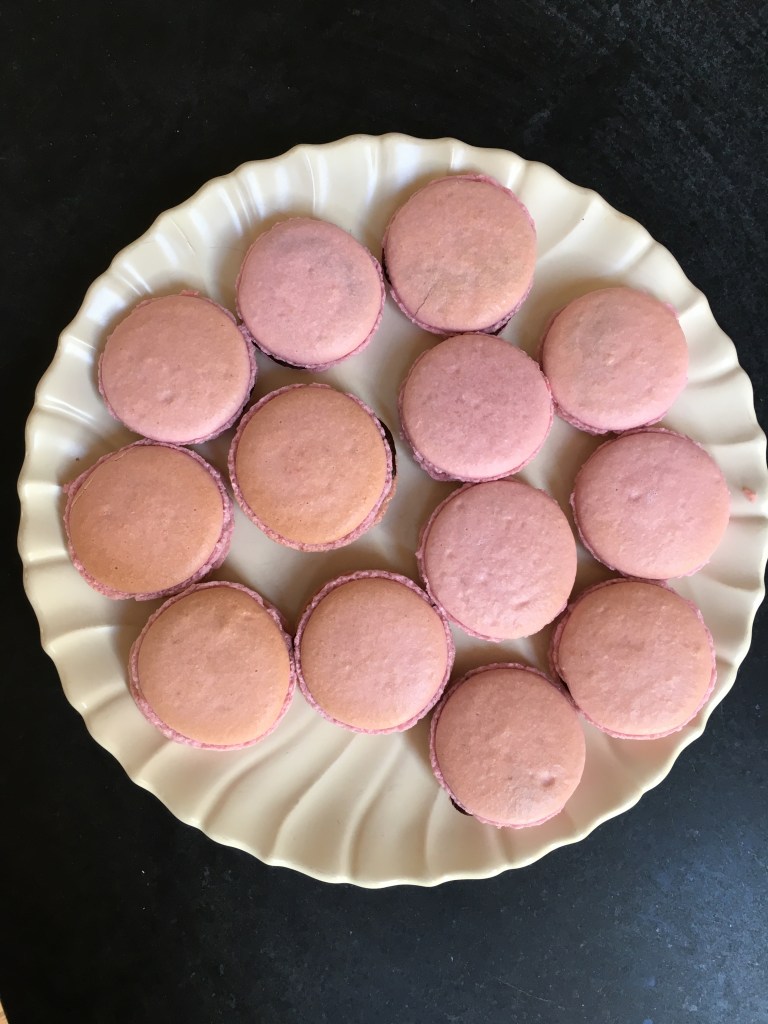
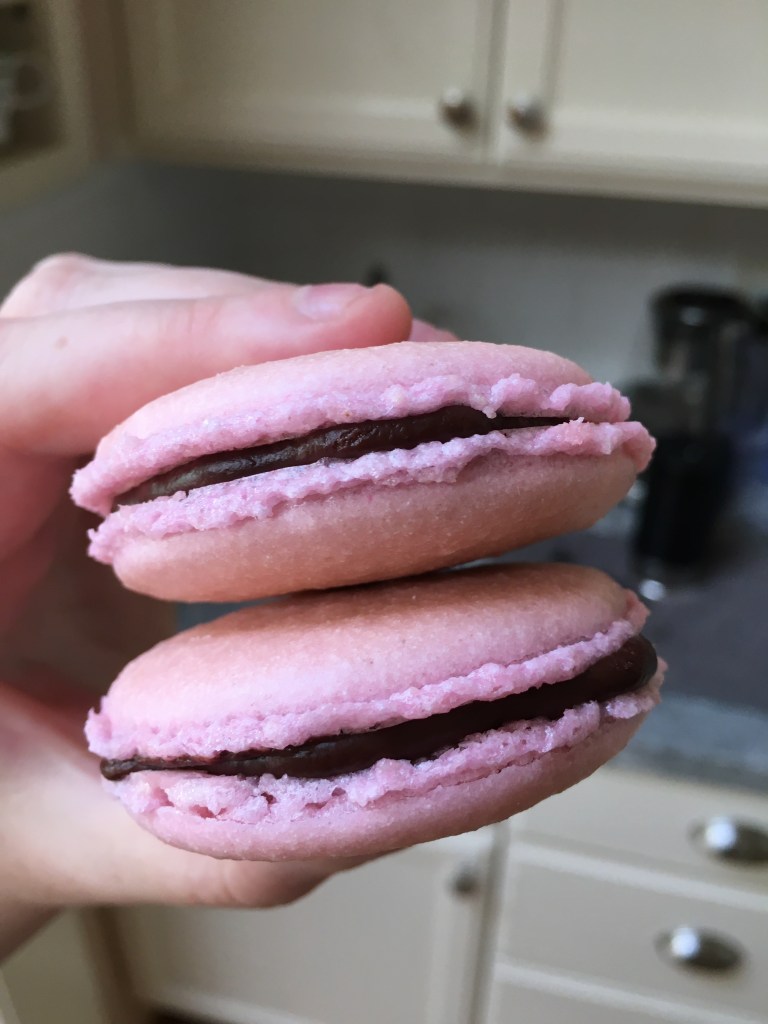
Here’s what the finished product looked like. I was extremely proud of the result, especially because it wasn’t too difficult overall and had seemed so intimidating before!
Plus, they were absolutely delicious. The combination of the light, melt-in-the-mouth macaron shells with the rich chocolate filling and tart raspberry jam was amazing. The jam was like a little surprise in every bite. My family was very impressed.
Here’s some of their feedback:
“It was a cloud-like, fruity, chocolate-y flavor bomb. I was shocked that my child could make something like that.” – Mom (thanks!)
“Debatably the greatest flavor collision between fruit and chocolate I’ve seen in my 18 years of eating” – James (Little bro)
I will be making many more macarons after this!

