Be yourself; Everyone else is already taken.
— Oscar Wilde.
This is the first post on my new blog. I’m just getting this new blog going, so stay tuned for more. Subscribe below to get notified when I post new updates.
CHEM 490 Special Topics Project: Egg-Based Desserts
Be yourself; Everyone else is already taken.
— Oscar Wilde.
This is the first post on my new blog. I’m just getting this new blog going, so stay tuned for more. Subscribe below to get notified when I post new updates.

For my fifth and final recipe, I chose something pretty complicated: macarons! They are a classic example of French pattisserie — like an elevated version of a sandwich cookie. They are very well known for their light, airy texture and gem-like appearance. They have become a bit of a fad lately– with many different vibrant colors and interesting flavors! I chose to keep it simple with a chocolate ganache filling and raspberry jam in the center.
This recipe, like pavlova, has always been pretty intimidating to me because it is notoriously finicky — even the temperature and humidity levels outside on the day you bake them matters! Thankfully, I chose a very detailed, step-by-step recipe with lots of notes and comments so I could learn everything before baking. Here is the link: https://sallysbakingaddiction.com/step-by-step-guide-to-french-macarons/
And here are some photos and explanation of the baking process:
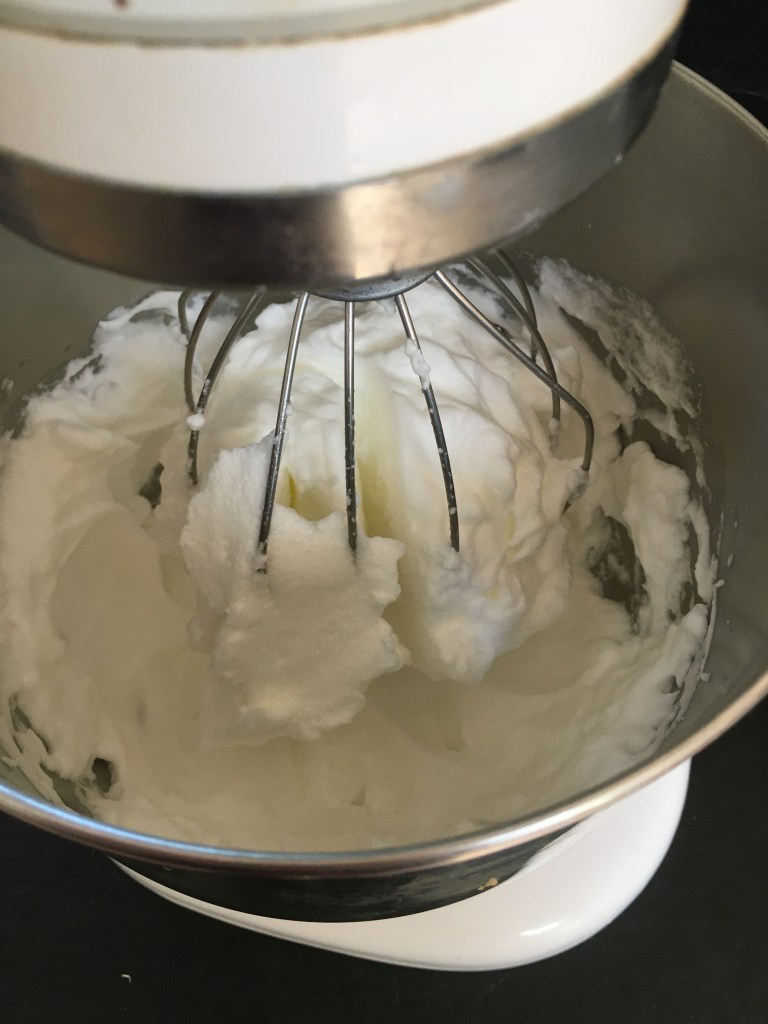
The batter has two main components: an almond flour/confectioner’s sugar mixture and stiffly whipped egg whites. Significantly, the recipe strongly suggested that I separate my eggs the day before baking and leave the whites out on the counter overnight to come to room temperature. I am familiar with the technique of bringing ingredients like eggs and butter to room temperature before using them but have never left anything out overnight before. I learned that this technique is called “aging” and increases the elasticity of the egg whites to make for better stiff peaks. I think it worked well and would consider “aging” my eggs again!
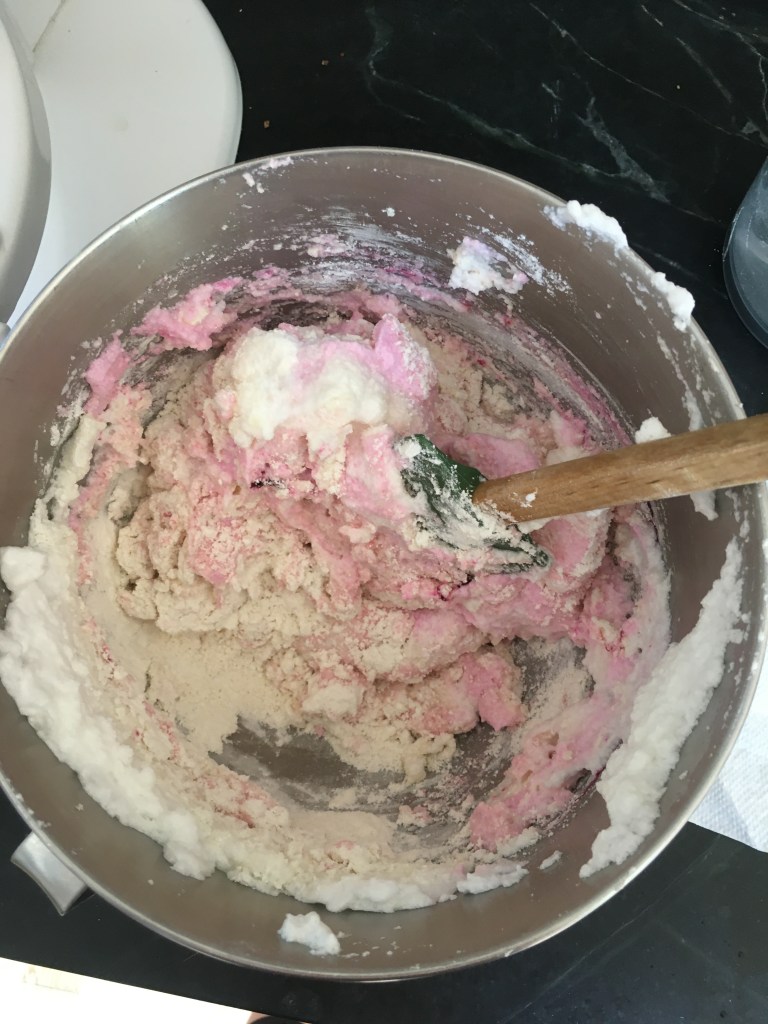
After whipping the egg whites (plus a bit of salt and sugar) to stiff peaks, you add coloring and flavor, and then the flour/confectioner’s sugar mixture. I chose to use a little bit of “Fuschia” gel food coloring to get that raspberry-like color and I also added some almond extract to enhance the flavor. This photo looks a little messy because the process of combining the flour mixture with the egg whites was sloppy – I had to very, very gently fold with a spatula for what felt like a very long time before reaching the “smooth and glossy” consistency the recipe promised.
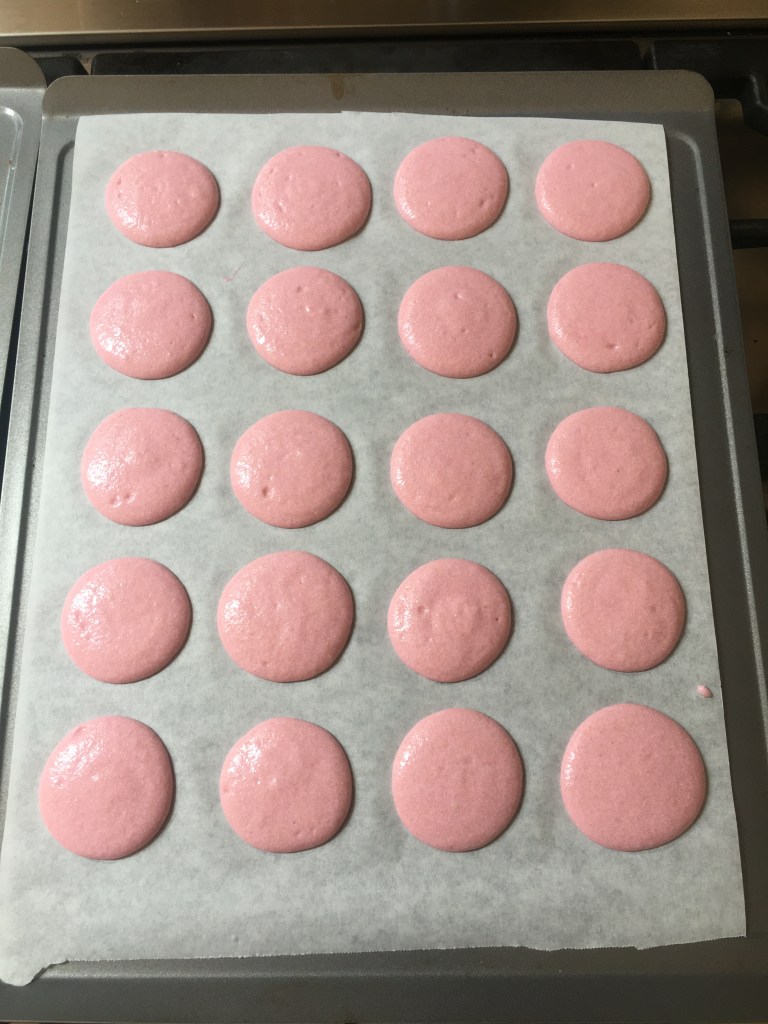
After the mixture was smooth, I rested it on the counter for half an hour. Then, I piped it into rounds on a baking sheet and rested it again for an hour. This allows the shells to dry out and is crucial for a crispy top and for the “feet” of the macaron (the little bubbly stuff around the edges) to develop. After an hour, I could touch the unbaked rounds without anything sticking to my finger, so I knew they were dry enough to go in the oven.
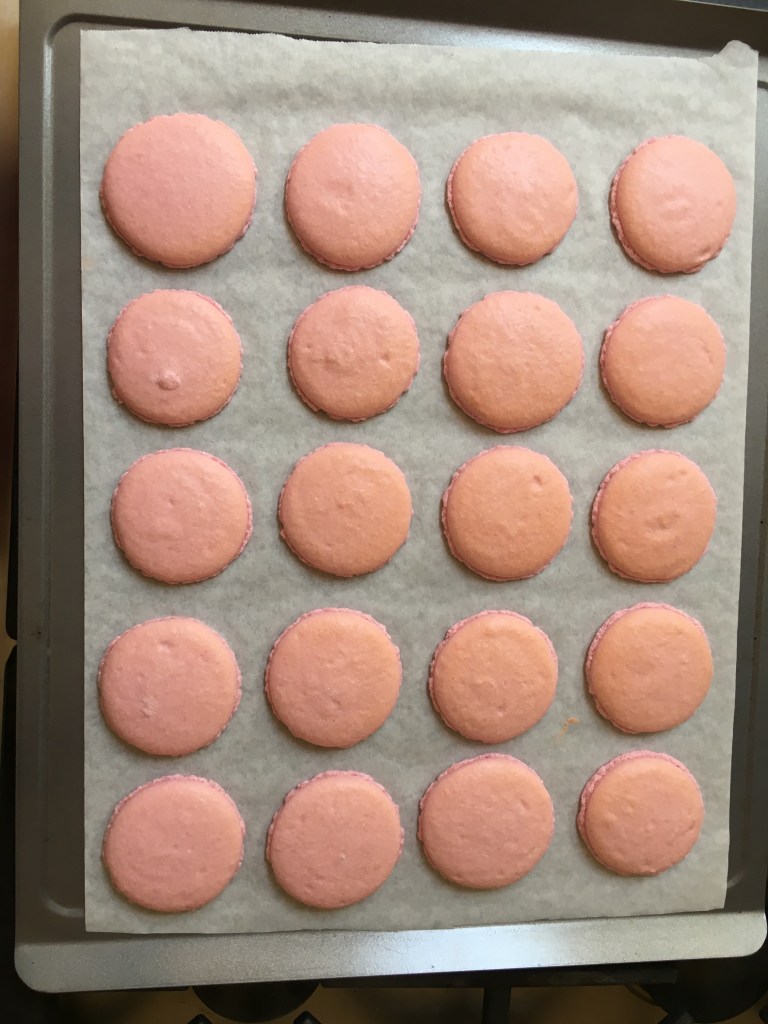
Here’s what they looked like right out of the oven – I was super happy that they puffed up, dried out, and, most of all, developed the famous “feet” that indicate your technique is correct!
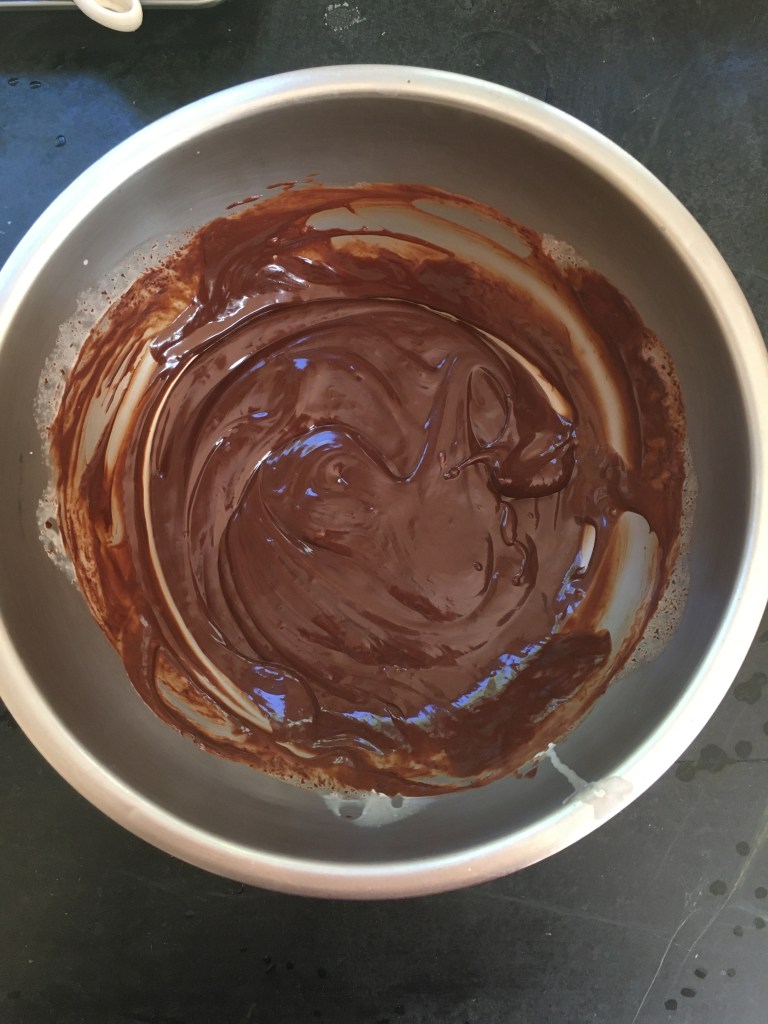
While they cooled, I made a very simple ganache from bittersweet chocolate and hot heavy cream.
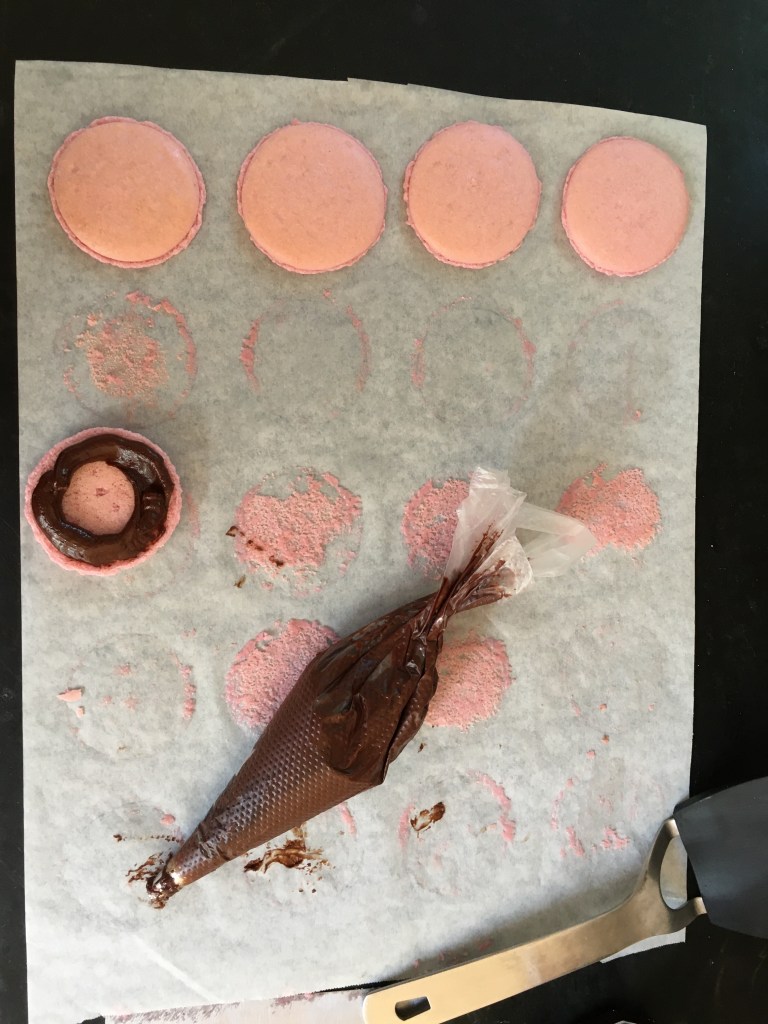
Assembling the macarons was the most fun part! I piped a circle of chocolate ganache and then spooned in a little raspberry jam from the fridge.
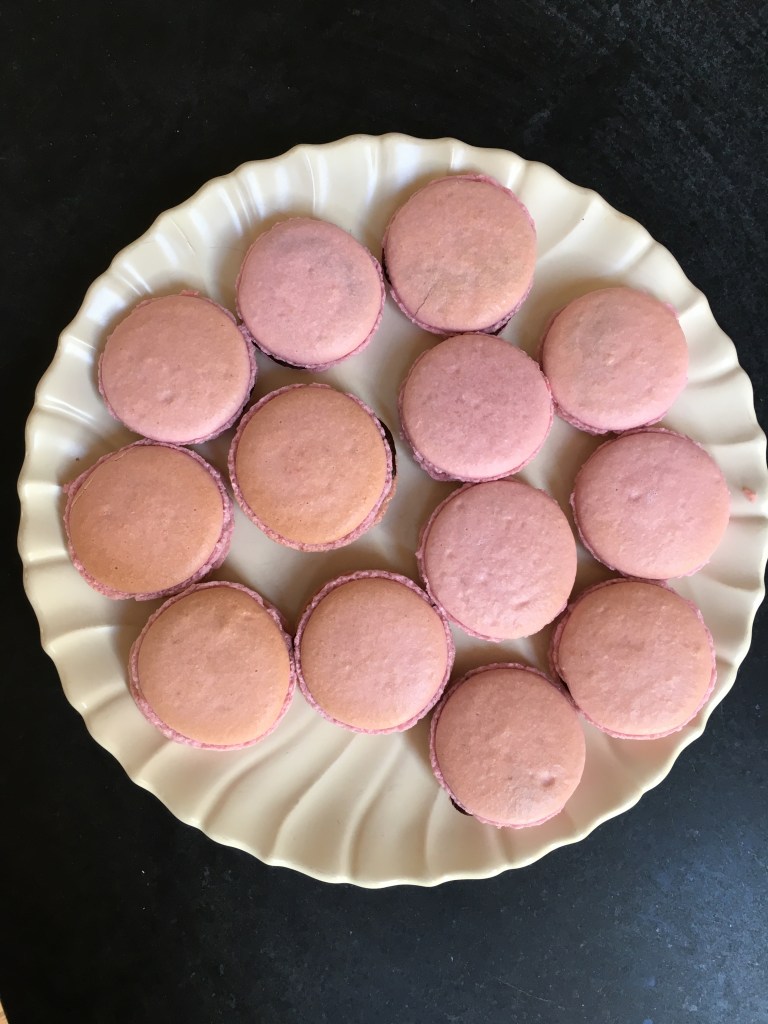
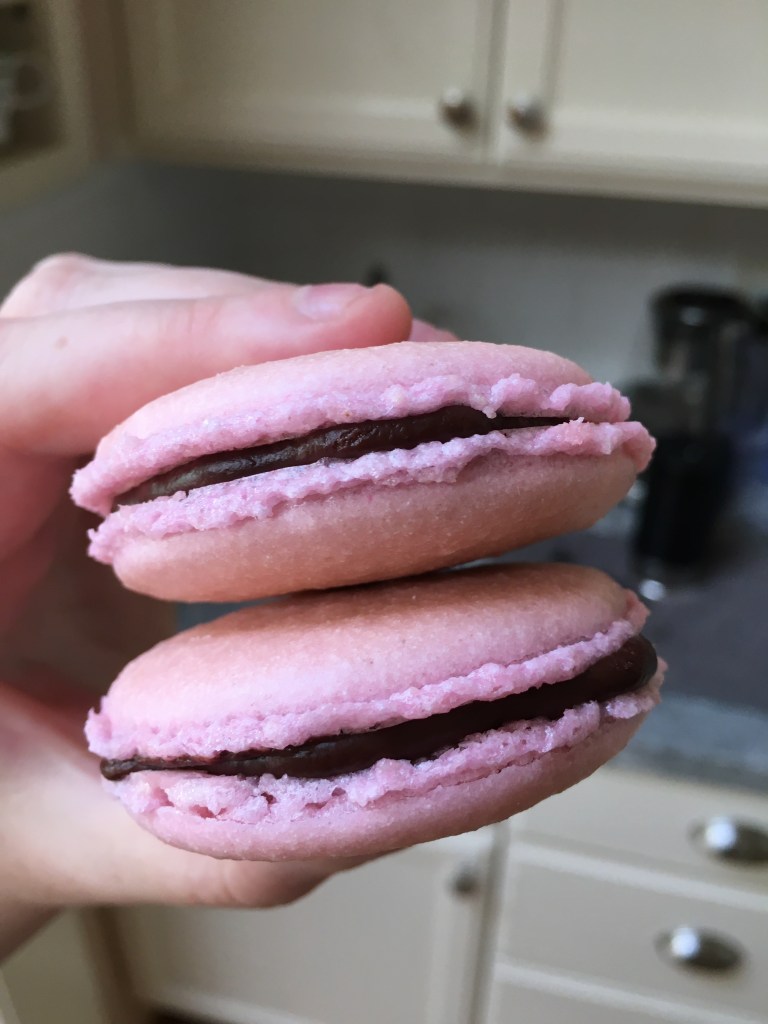
Here’s what the finished product looked like. I was extremely proud of the result, especially because it wasn’t too difficult overall and had seemed so intimidating before!
Plus, they were absolutely delicious. The combination of the light, melt-in-the-mouth macaron shells with the rich chocolate filling and tart raspberry jam was amazing. The jam was like a little surprise in every bite. My family was very impressed.
Here’s some of their feedback:
“It was a cloud-like, fruity, chocolate-y flavor bomb. I was shocked that my child could make something like that.” – Mom (thanks!)
“Debatably the greatest flavor collision between fruit and chocolate I’ve seen in my 18 years of eating” – James (Little bro)
I will be making many more macarons after this!

My fourth recipe was something I’ve never thought I would make: pavlova! I have always been a little intimidated by this dessert because I have seen so many beautiful versions from professional bakers online, and it requires some techniques that I’ve never used before. The base of the dessert (before toppings/fruit) relies almost completely on how you whip the egg whites and add stabilizers, and then how you bake the pavlova in the oven and cool afterwards. If you make any mistakes, it is really easy for the pavlova to collapse in on itself or become too dry as it bakes.
Because I was so aware of all the pitfalls, I chose my recipe and then did some more research around the internet to see what other bakers had to say in comparison. It turns out there’s lots of dispute around how low the oven temperature should be, how long you should whip your egg whites in the mixer, and whether or not you should crack the oven door as the pavlova cools. I ended up using the original recipe I had picked out, but modified a couple things, like lowering the oven temperature a little bit and not cracking open the door as instructed, but leaving it closed the entire time for baking and cooling. I also chose my own toppings rather than the ones in the recipe. This ended up producing a really great pavlova, so I was happy I did my research rather than just following the first recipe blindly.
Here is a link to the first recipe, and then the other sources I used for reference:
https://food52.com/recipes/77123-berries-and-cream-pavlova
https://zoebakes.com/2018/07/17/pavlova/
“Zoebakes” was particularly useful because she references a lot of the original Australian/New Zealander techniques that are traditional to the dessert.
I was so focused on getting the techniques right that I forgot to take any photos until after the pavlova came out of the oven! I completely forgot to take pictures of whipping the egg whites because it was such a complex process. The recipe asks you to slowly increase the speed of your stand mixer as you gradually add dry and then wet ingredients to the whipping eggs.
But essentially, I whipped the egg whites with sugar, salt, vanilla extract, cornstarch, and white vinegar to make the pavlova mixture. Even though you whip the egg whites until they reach stiff, glossy peaks, the cornstarch and white vinegar are still necessary to stabilize the meringue and give it a marshmallowy, puffy inner texture. Then, I spread the meringue onto parchment paper with a pre-traced circle template before putting it into the oven at a low temperature of 225. After cooking for a little more than an hour, and without opening the oven door at all, I turned off the oven and allowed the pavlova to cool completely before taking it out. (If you open the oven door, the meringue can collapse in on itself).
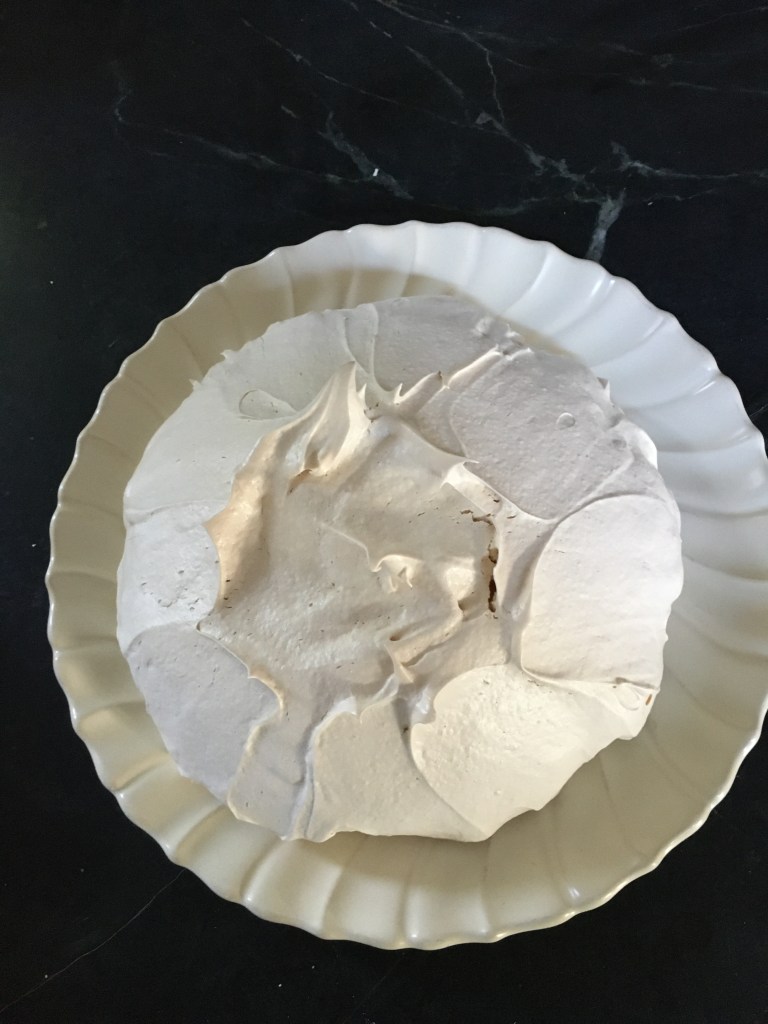
This is how the pavlova looked when it finally came out of the oven! I was happy with it because it had a dry outer skin and felt extremely light and hollow, so I knew it had a soft inner texture. It also maintained its shape very well and remained voluminous, so I was glad I did not open the oven door at all.
For toppings, I decided to use the leftover egg yolks from the recipe to make a raspberry curd filling. I also whipped heavy cream and left it unsweetened because the pavlova itself is really sweet. I topped that with fresh raspberries.
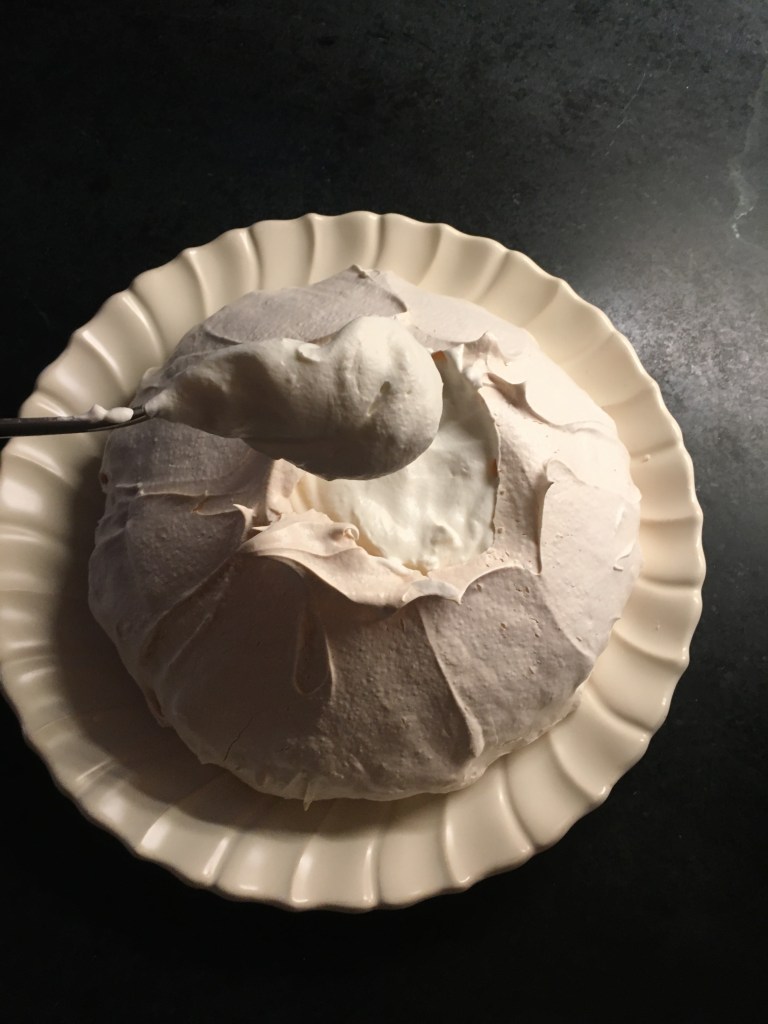
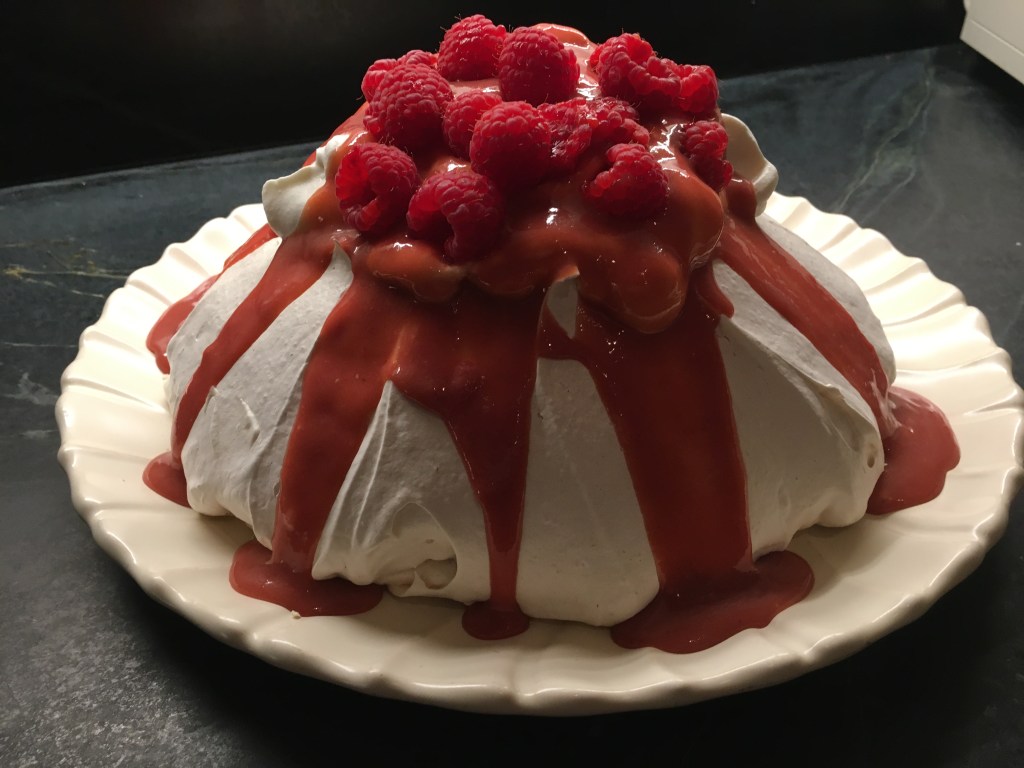
To top the pavlova, I used a spoon to crack open the top and get to the hollow inside, which I filled in with the whipped cream. The curd went on top of that and then the raspberries. It ended up looking very pretty, almost like a sweet volcano!
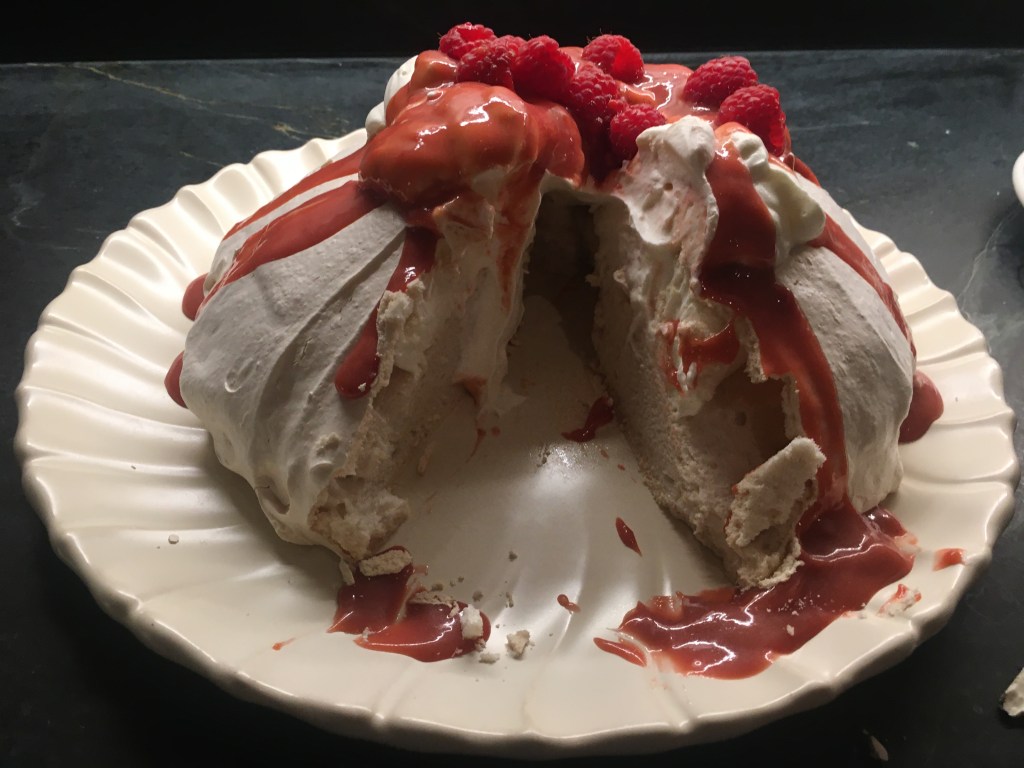
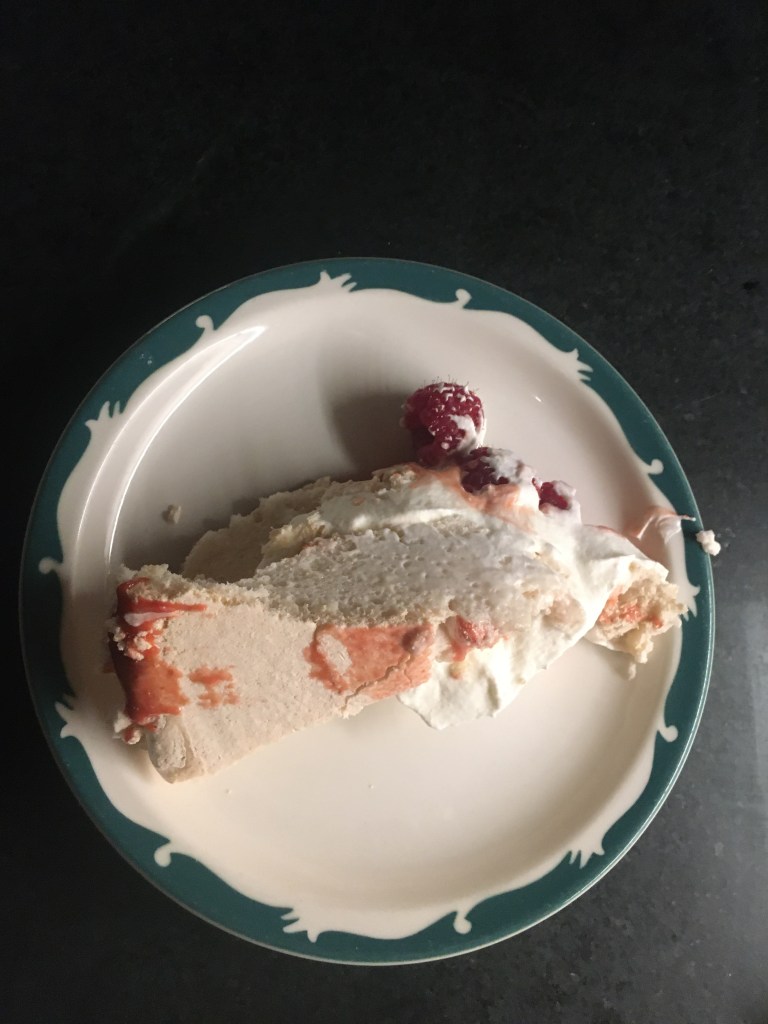
Cutting into the pavlova was an almost magical experience! I couldn’t believe that I had created two completely different textures — dry and crackly and marshmallowy soft — by basically just whipping and baking egg whites. The meringue was super light, airy, and sweet, and the pillowiness made for a melt-in-your-mouth feel. It paired perfectly with the sweet-tart curd and the cold unsweetened whipped cream. My family loved it and we all had seconds. I would absolutely make this again, especially for a fancy dinner party or other celebration because it is such a stunning and impressive dessert.

I chose crème brûlée for my third recipe because it displays a different, smoother texture of dessert. My last two recipes utilized a combination of separately prepared egg yolks and whites to achieve a fluffy volume, but crème brûlée relies on just egg yolks to make a custardy, smooth dessert. Abandoning egg whites altogether puts the spotlight on the yolks, which form a silky and very rich texture. Besides the egg yolks, the crème brûlée only has 4 other ingredients, which is surprising given how delicious it is!
Here is a link to the recipe I used: https://cooking.nytimes.com/recipes/9039-vanilla-creme-brulee?algo=cooking_doc2vec_weight_1&fellback=false&imp_id=333550722&action=click&module=RecirculationRibbon&pgType=recipedetails&rank=2
And here are some photos with explanations of the baking process:
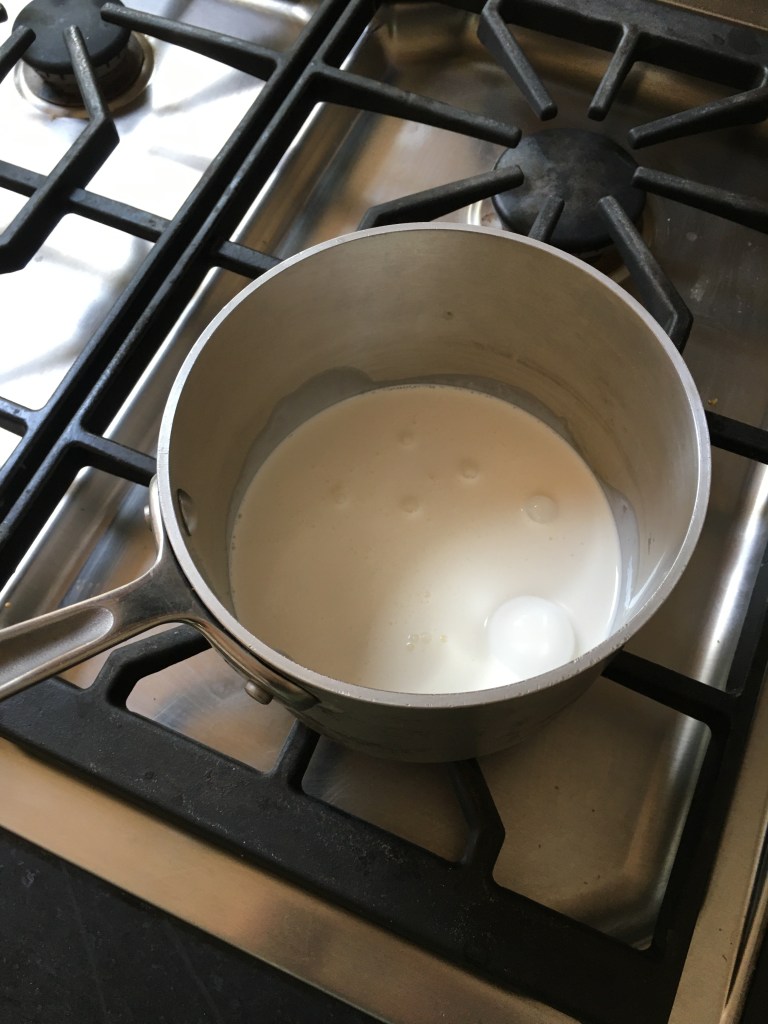
The first step is to heat the cream, vanilla, and sugar together, until it is hot, but not super hot, because it is immediately combined with the egg yolks to form a custard.
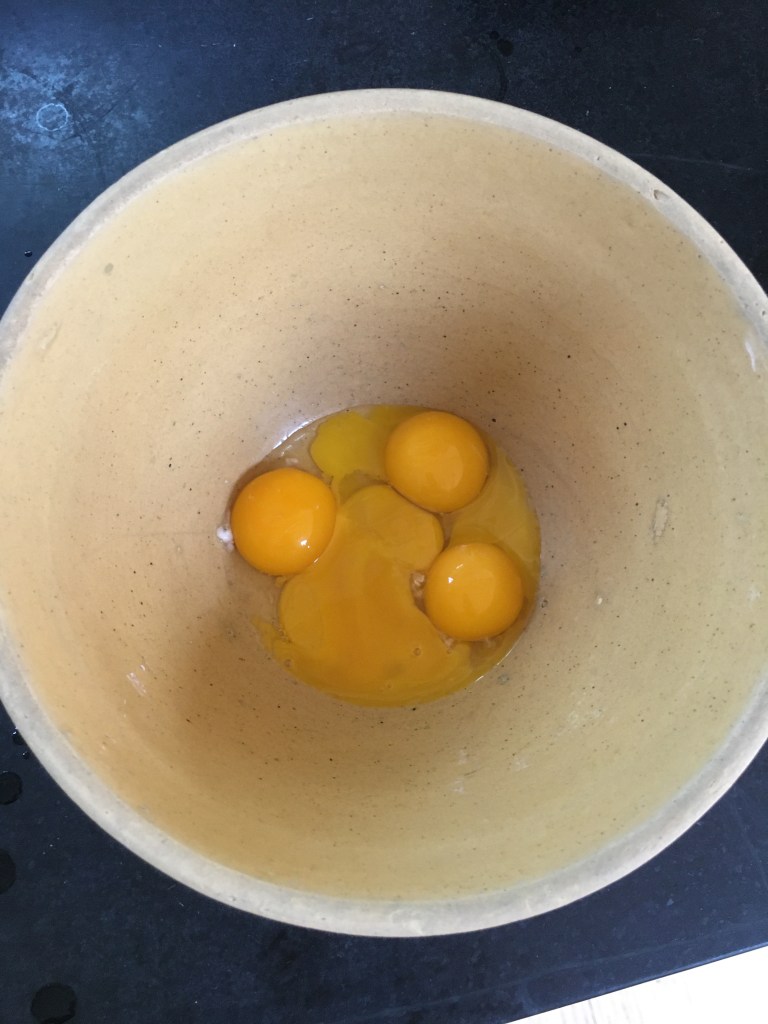
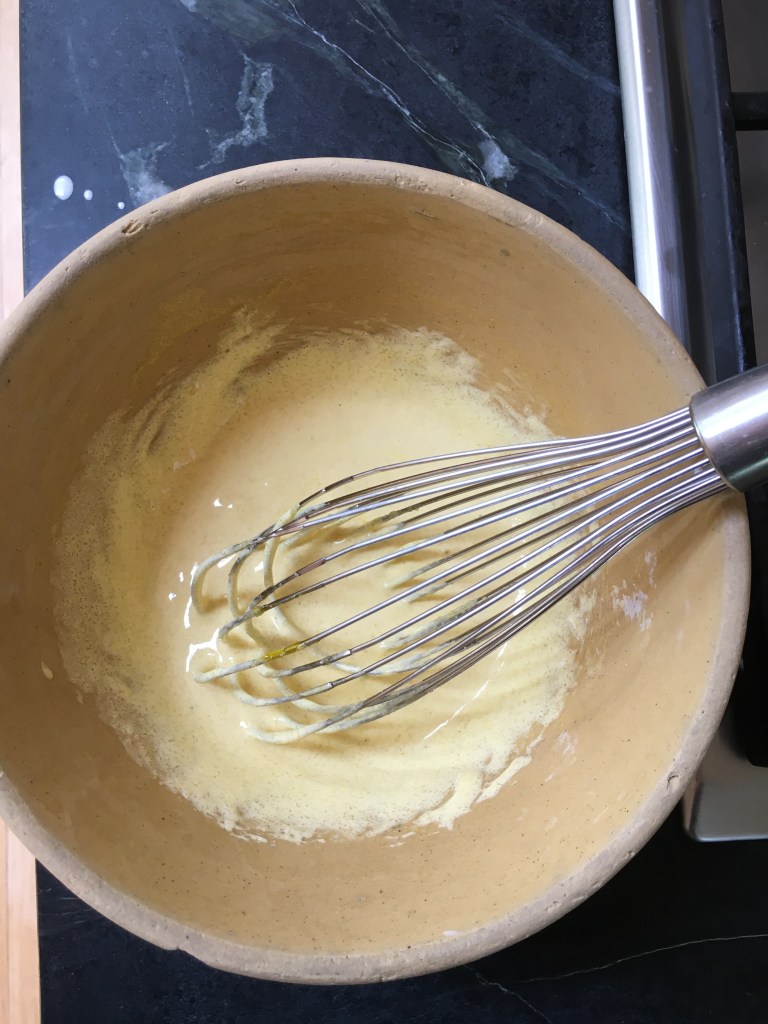
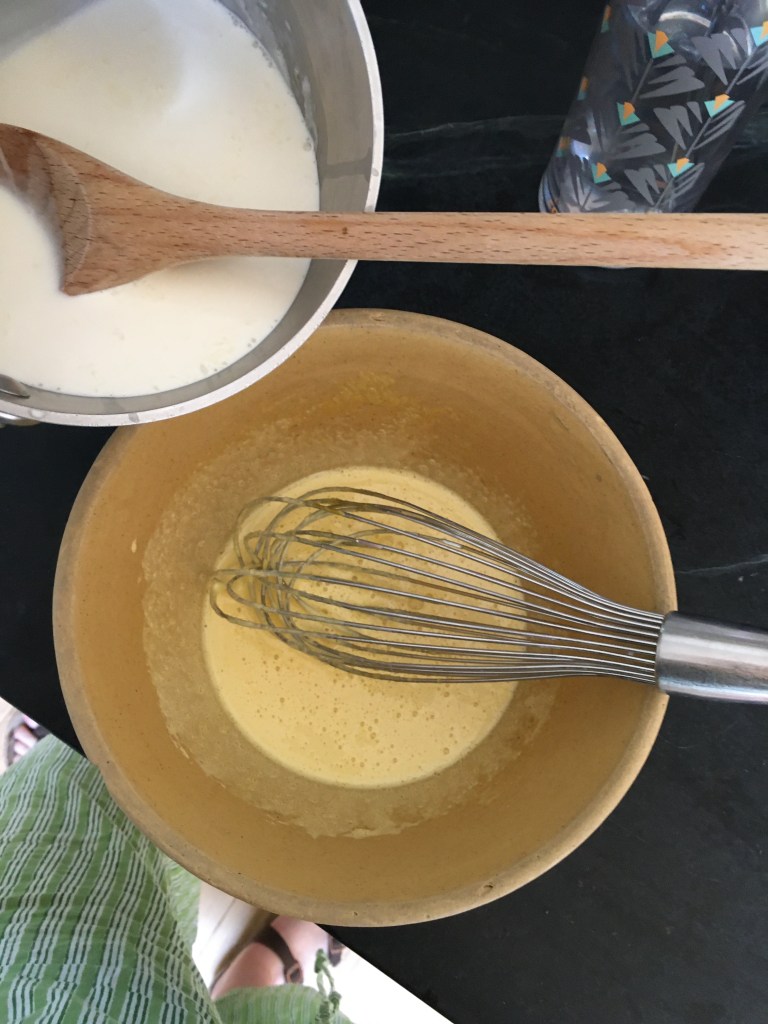
The two separate components before being mixed together.
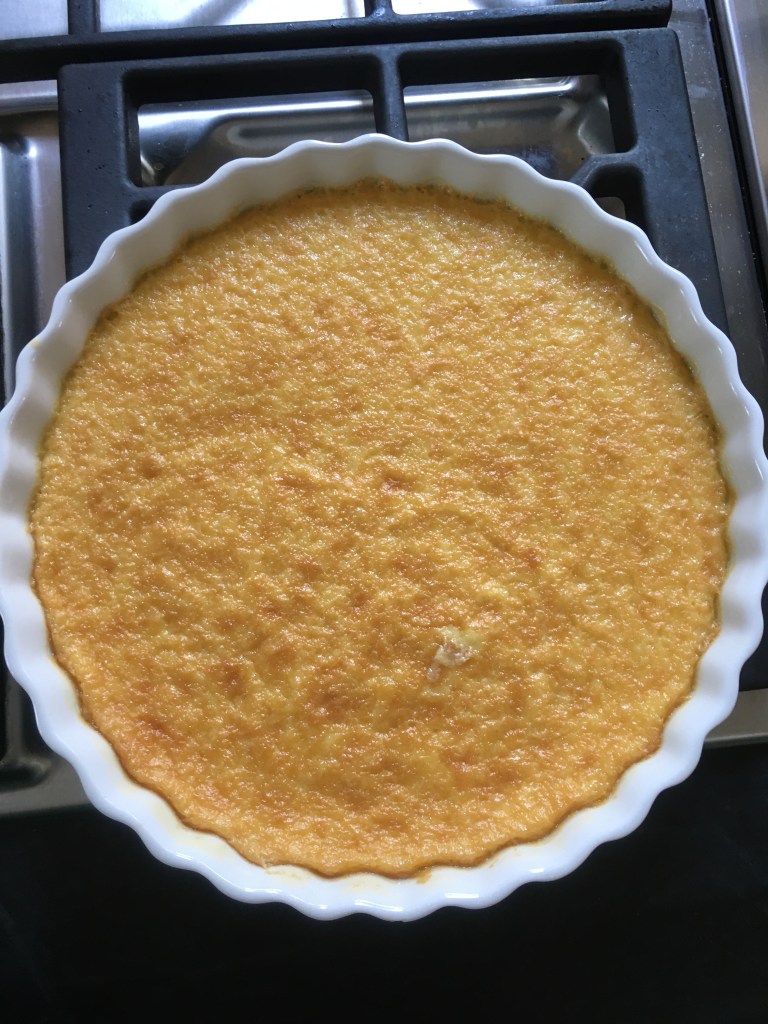
I forgot to take a picture of the poured custard before it went into the oven, but here is how it looked right after it came out! I had to use one large ceramic pie tin instead of smaller ramekins, because I don’t have ramekins in my home kitchen. I think this slightly affected the baking time and caused the custard to be a little less smooth due to having to stay in the oven significantly longer.
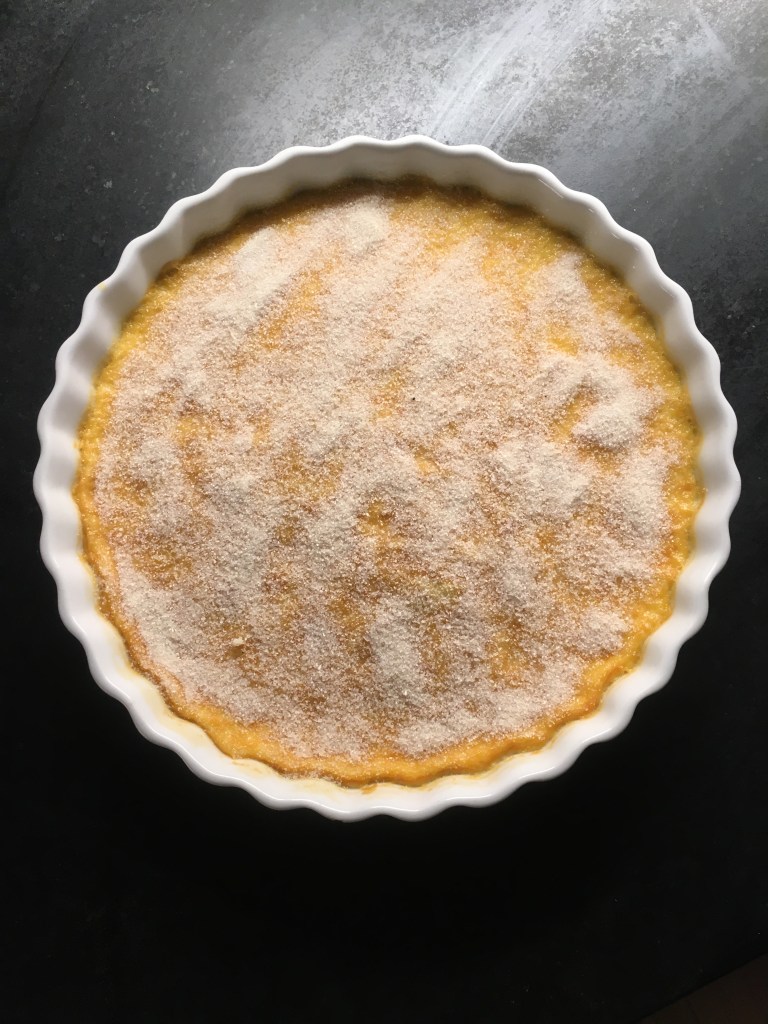
After refrigerating the custard for a few hours so it could thicken up, I sprinkled the top with several teaspoons of granulated sugar so that the entire thing was coated. I would have preferred to use a blow torch to brûlée the dessert for a more even color, but we also don’t have a blow torch, so I put it under the broiler for a couple minutes.
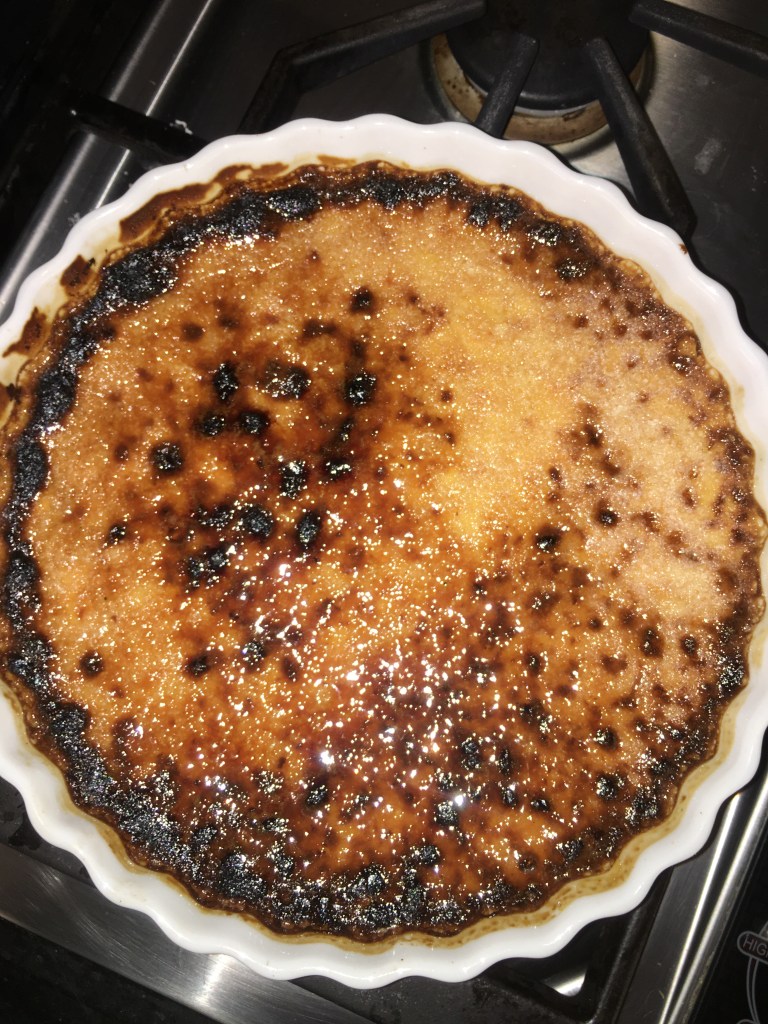
This is how it looked after broiling the sugar! It wasn’t as even or as pretty as I would have liked, but the brûlée technique worked well and created a crackly, hard top.
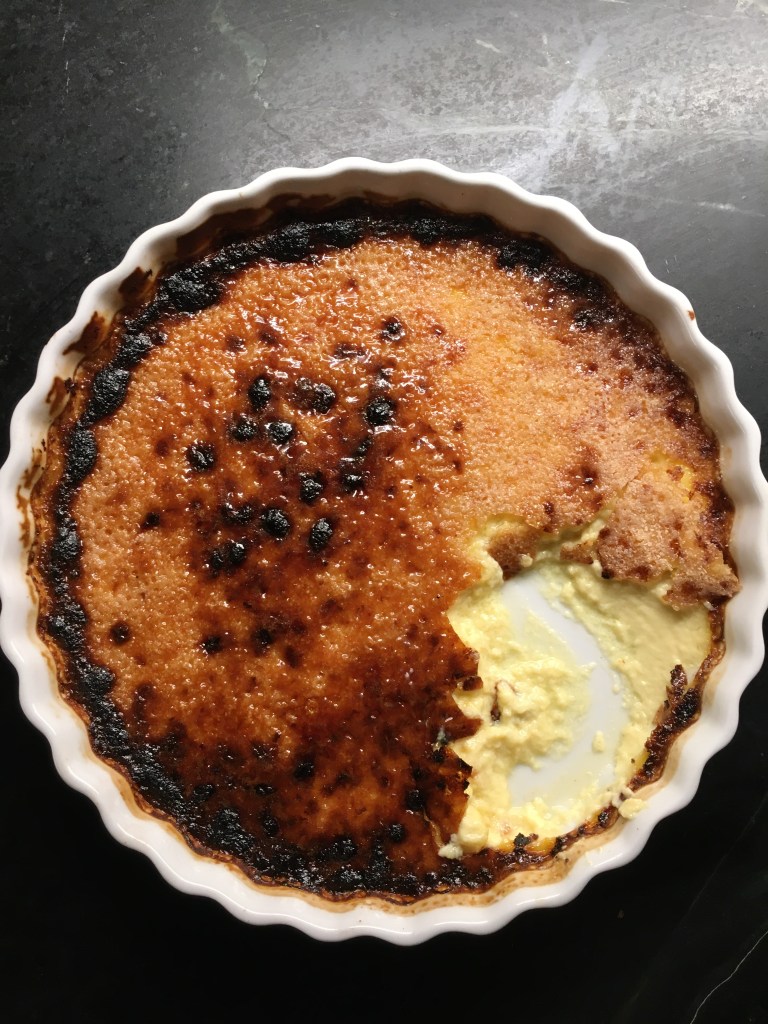
When we dug into the crème brûlée, it was absolutely delicious. The two different textures — shattered, caramel-y top and smooth eggy vanilla custard — made for a wonderfully complex bite that seemed way more complicated than just 5 total ingredients!
My family really enjoyed the dessert. Here are their comments:
“It has excellent contrasting textures – crunchy – chewy – and the slightly burnt, caramelized sugar on top is perfect.” – Mom
“It’s delicious! Sort of like rice pudding with caramelized custard!” – Dad
“I like that the texture is a little different from a normal dessert.” – James (little brother)
I would definitely make crème brûlée again, but I would want to have a few more tools on hand, like a kitchen blow torch and ramekins for more consistent baking and appearance.

My second recipe for my egg-based desserts project was an internet-famous phenomenon: the Richard Sax Chocolate Cloud Cake. This cake has been featured on many cooking and baking blogs, as well as in one of my favorite baking books, Genius Desserts. The recipe is well-known because it contains many of the same ingredients as a basic flourless chocolate cake (a dessert I’ve made many times). But this particular cake comes out of the oven with a magically huge, cloud-like rise due to the quantity of eggs. Sax’s method is unique because he divides the 6 required eggs into 2 whole and 4 separated, so that you mix 2 whole eggs and 4 yolks together with the chocolate and sugar, and later fold in 4 whipped egg whites. Unlike in a Soufflé, you beat these egg whites until they reach soft and glossy (rather than stiff) peaks. This makes for a beautiful, smooth-textured batter that looks amazing both before and after baking.
Here is a link to the recipe: https://food52.com/recipes/78350-richard-sax-s-chocolate-cloud-cake
And here are some photos of the baking process:
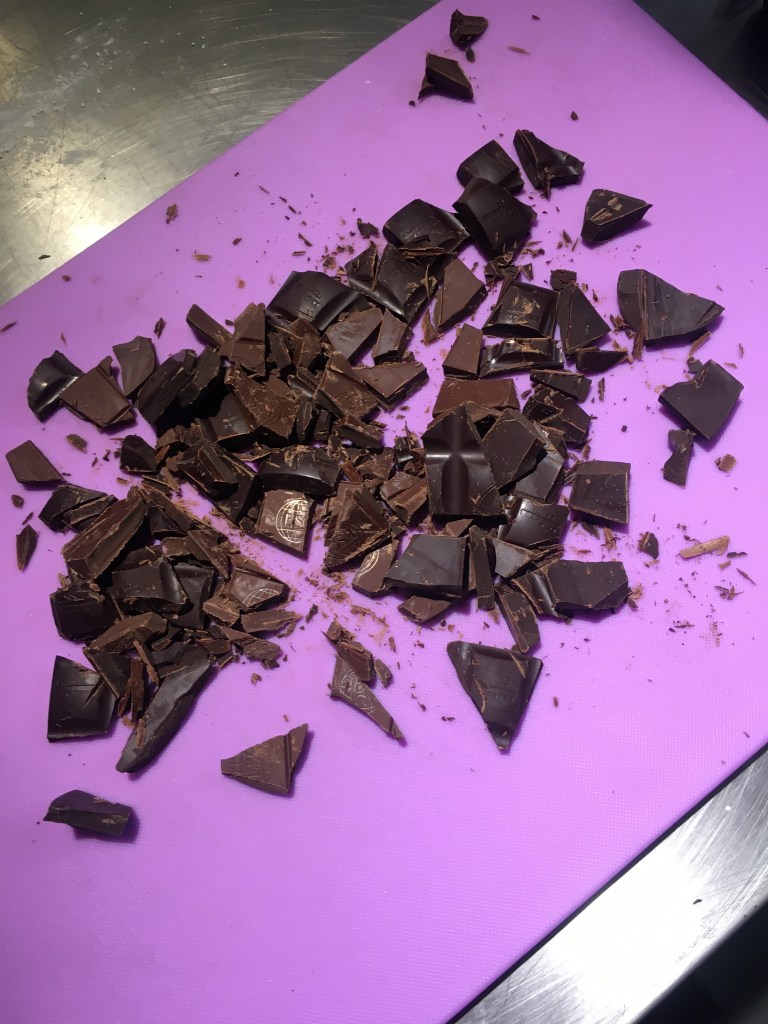
I decided to use two different types of chocolate — semisweet and bittersweet — to make a deeper chocolate flavor. Chopping it up coarsely makes it easier to melt over the stove.
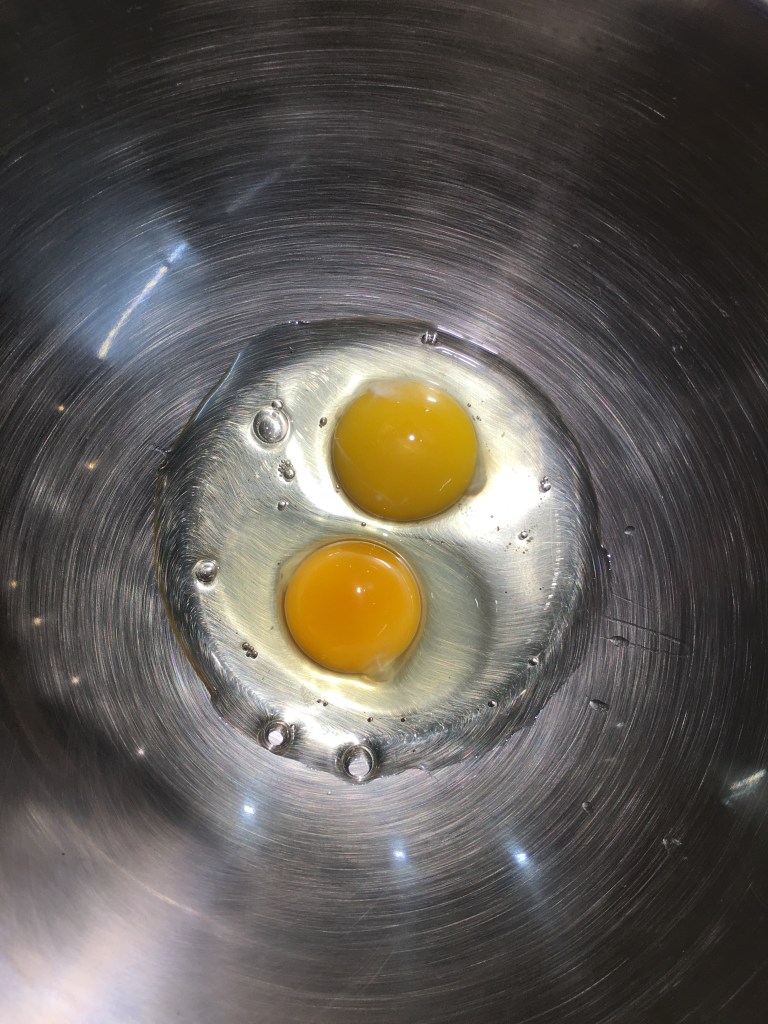
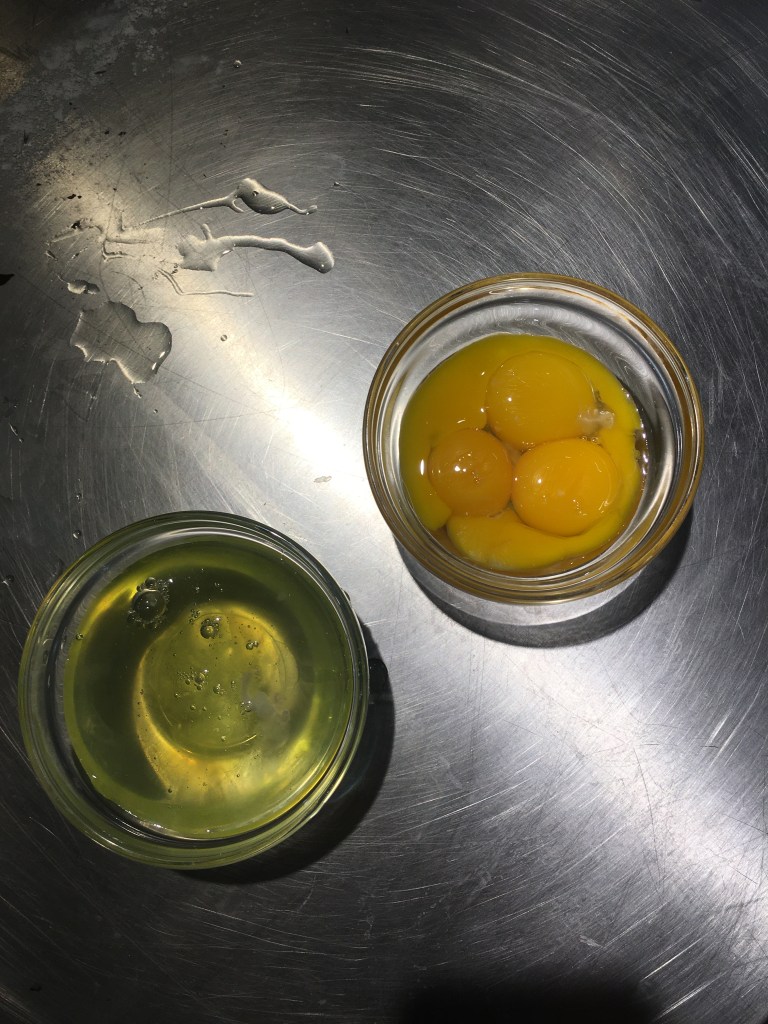
Putting aside two out of the six eggs, and then separating the remaining four into yolks and whites.
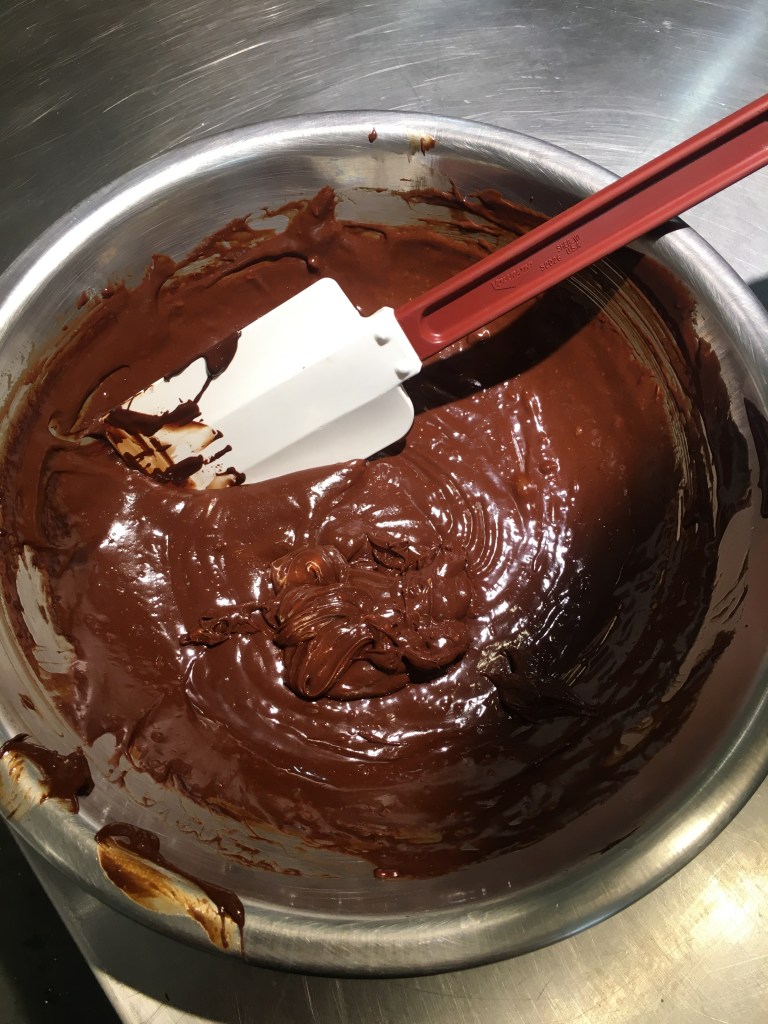
The dense chocolate, egg yolk, and sugar mixture before the addition of the egg whites.
An important technique I learned through this recipe is to stir a bit of the whipped egg whites into the chocolate mixture to lighten it up and make it less dense before adding the rest of the whites. This makes the folding process easier because the denser mixture is already prepped to take in the lighter, and it is easier to combine them without taking the all-important air out of the egg whites. I think this technique made for a much better rise on this cake than what I got on the Soufflé recipe.
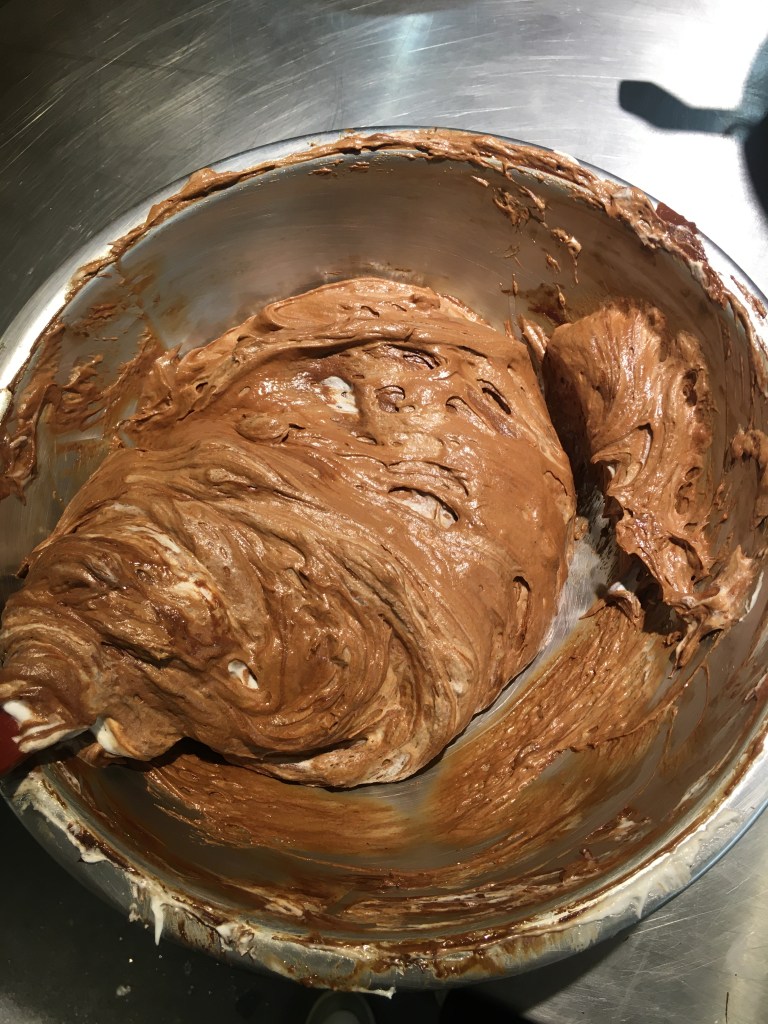
Folding the egg whites into the chocolate to make a smooth and aerated mixture.
And here is the final product!
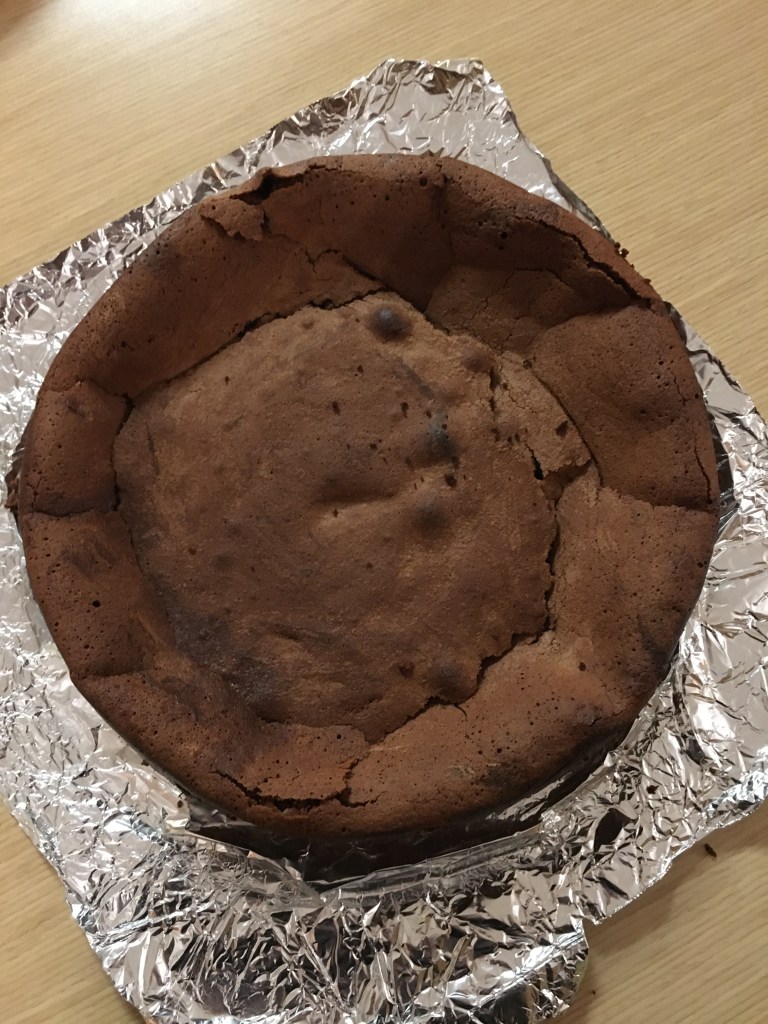
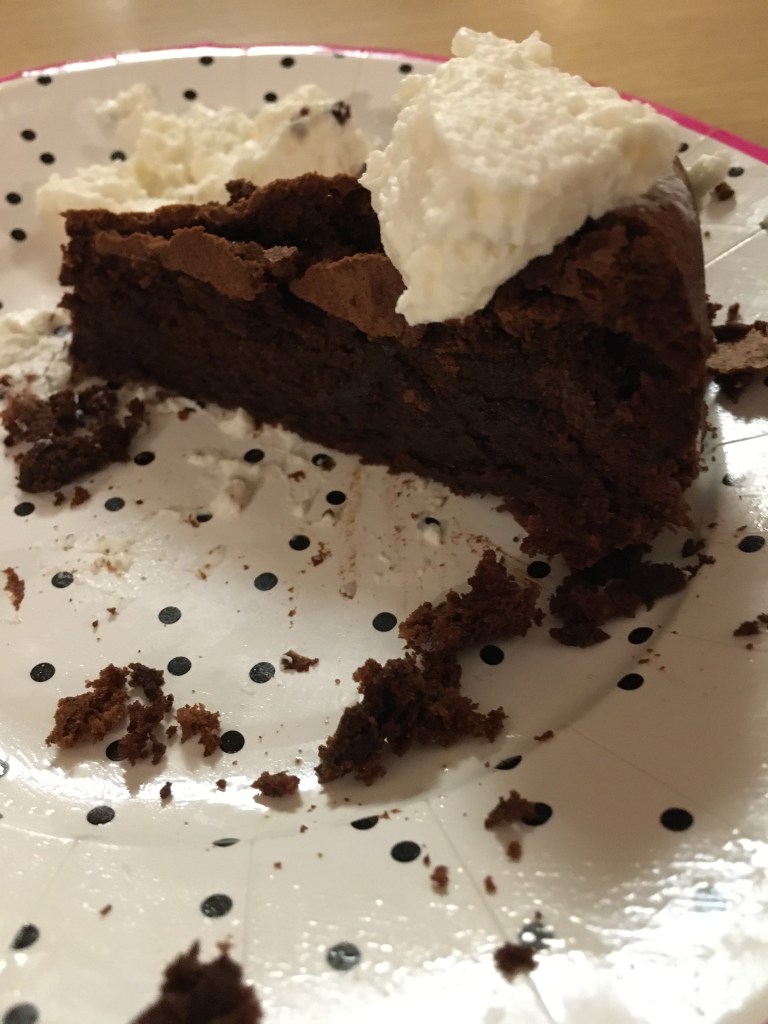
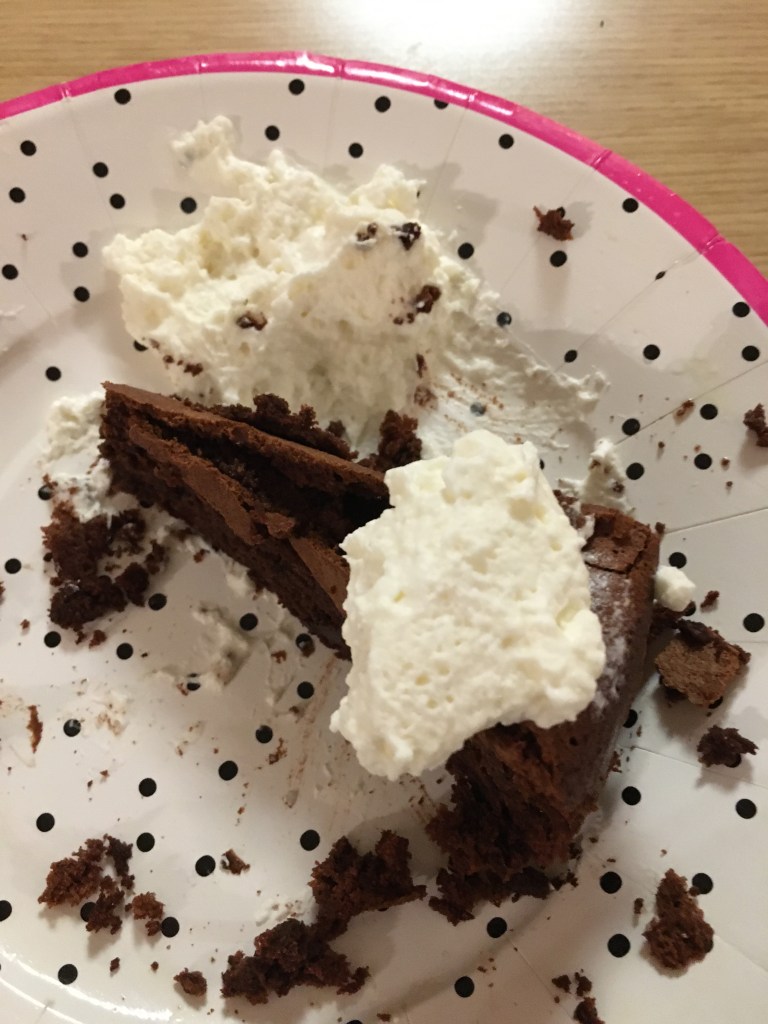
The cake came out incredibly light and puffy, looking exactly like a cloud and living up to its name. The top cracked slightly, demonstrating the different textures on the inside and outside of the cake. When we cut into it, it was super aerated and it was obvious that my folding technique worked really well to keep all of the whipped air in the batter. The texture fantastic and the chocolate flavor was rich, sweet, and complex. I served it with lightly sweetened vanilla whipped cream, which added another textural element and helped cut through the deep chocolate taste.
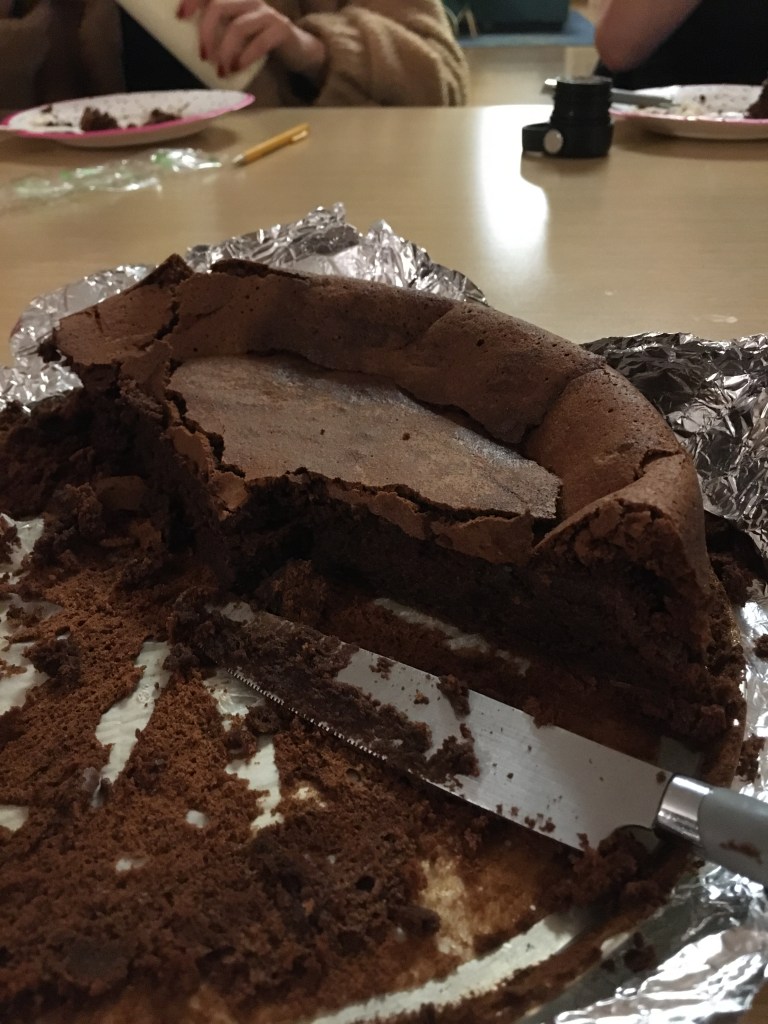
Here’s what some of my friends had to say:
“It’s velvety but light” – Jen
“It’s moist, melts in your mouth, but still rich” – Meg
“It tastes like a cloud!” – Anya (without knowing the name of the cake!)
“It’s very dark chocolatey, rich chocolate flavor” – Heather
“I like how airy it is – it dissolves on your tongue and is very easy to eat” – Camille
Needless to say, we all had seconds (except for Maya, who doesn’t like chocolate!). It was one of the best desserts I’ve ever made!

I chose Chocolate Soufflé for my very first recipe because it is a classic example of French cooking and because it relies almost solely eggs for its volume and texture. With a rich chocolaty taste and airy, melt-in-your-mouth texture, Soufflé is a perfect egg-based dessert.
Here is a link to the recipe I used: https://food52.com/recipes/26514-chocolate-souffle
The main steps of making a Soufflé involve melting chocolate and making a chocolate-sugar mixture, and then carefully combining that with stiffly whipped egg whites to create a very aerated final batter before sticking it in the oven. When the soufflé bakes, the whipped eggs in the mixture retain all of the air and cause the dessert to puff up, giving it its delicate texture.
Here are some photos of the baking process:
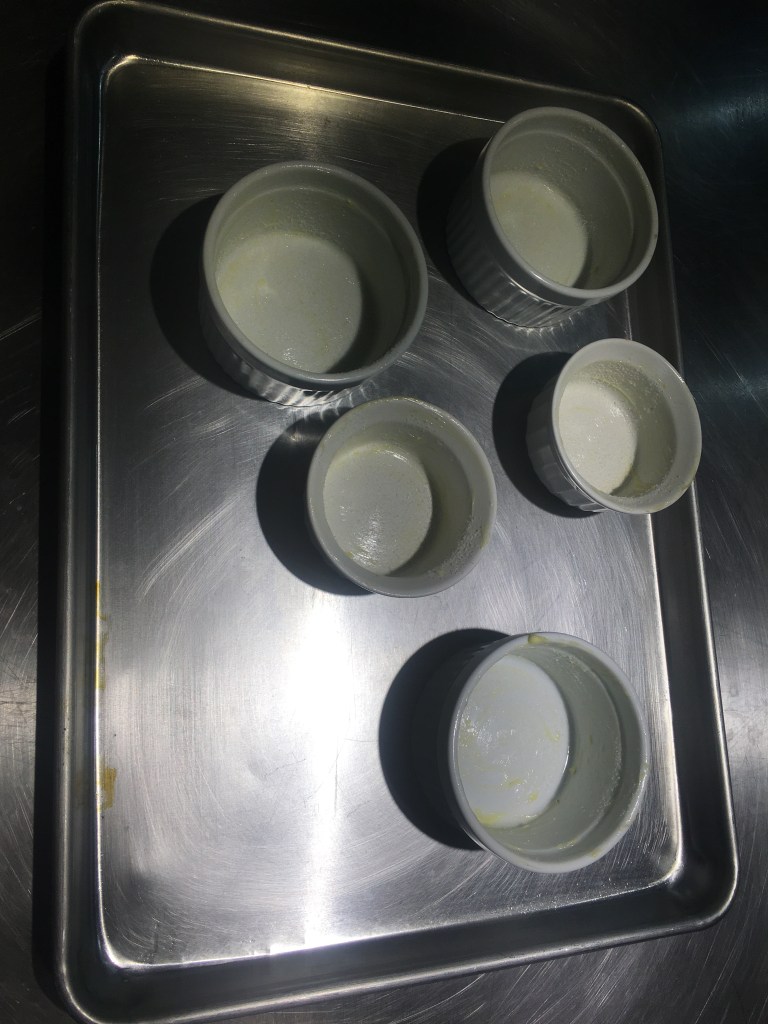
I used greased ramekins to make smaller, individual-sized soufflés, which is traditional.
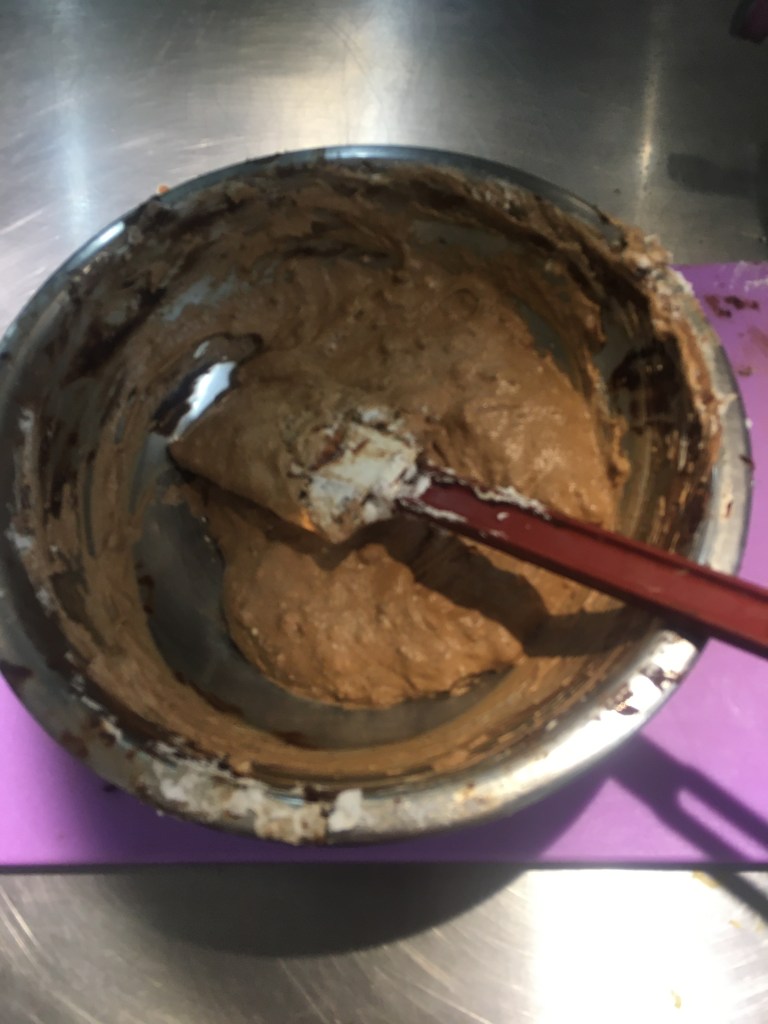
I forgot to take photos of the two different components (the chocolate mixture and the stiffly whipped egg whites), but this is the batter after the final step of folding the two components together. This is probably the trickiest and most difficult part of the process, because you have to try to fully combine the egg whites with the chocolate so there are little to no white flecks left, while simultaneously keeping all of the air you whipped into the egg whites intact. If you fold or stir too vigorously, you risk deflating the eggs and removing all the air from your soufflé.
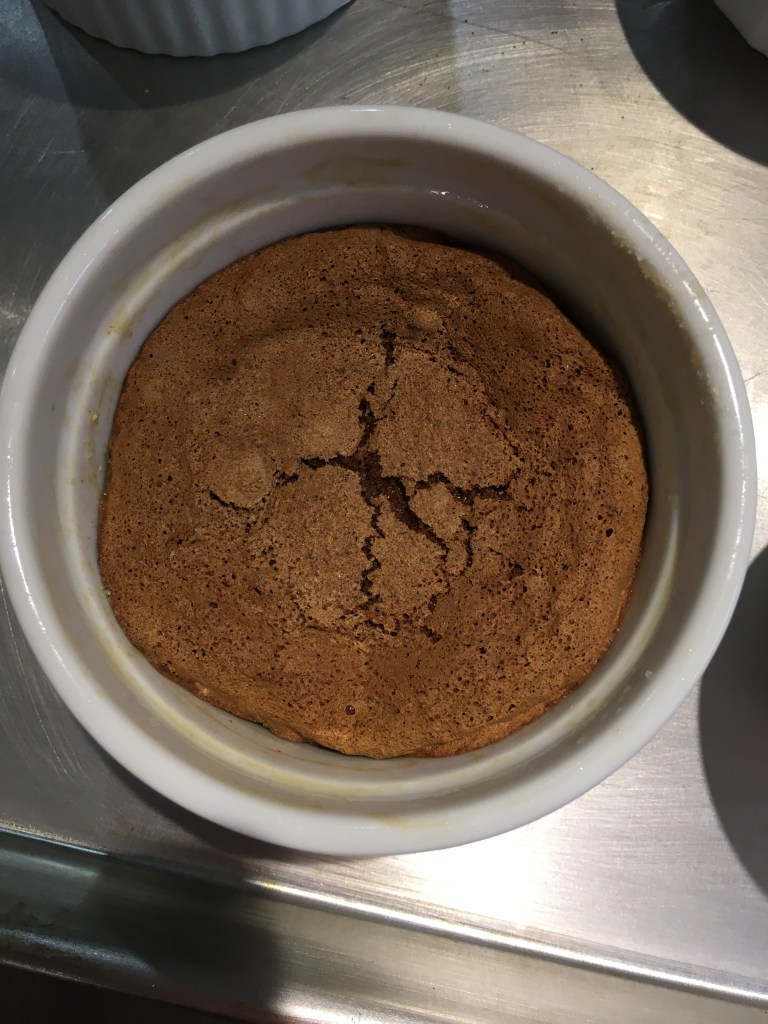
Here is what the Soufflés looked like right after they came out of the oven. They had puffed up quite a bit, but I didn’t get as much rise as I would have liked. I think my folding technique might have deflated the egg whites a little bit and so the mixture was not able to retain as much air. But they still looked great!
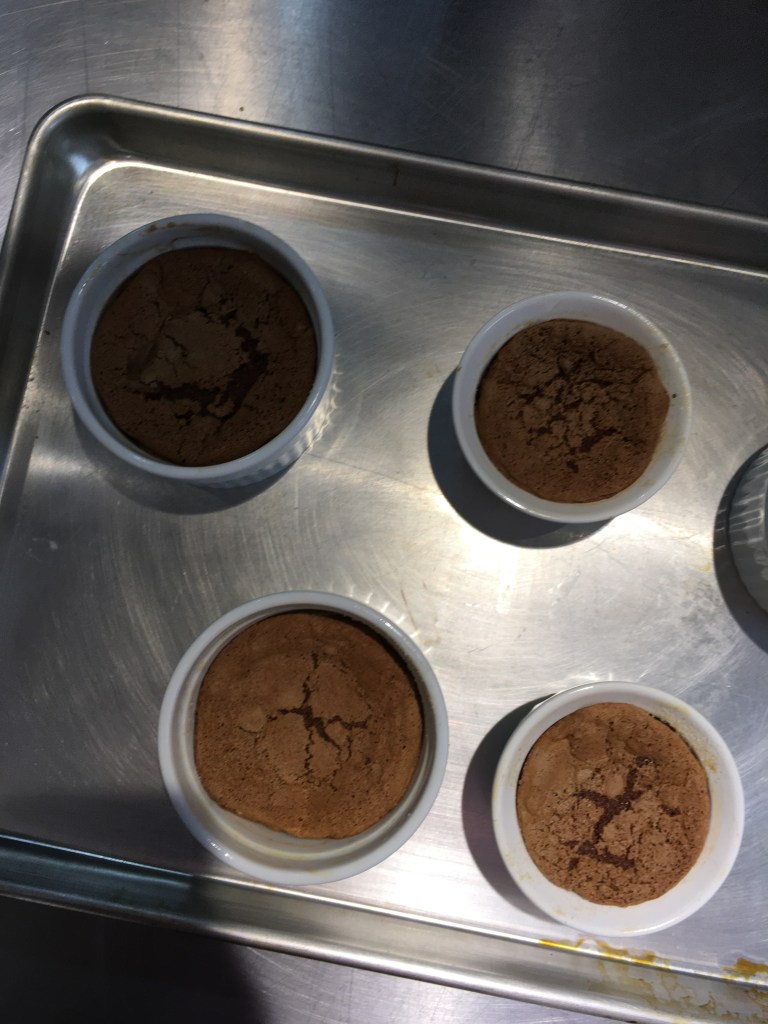
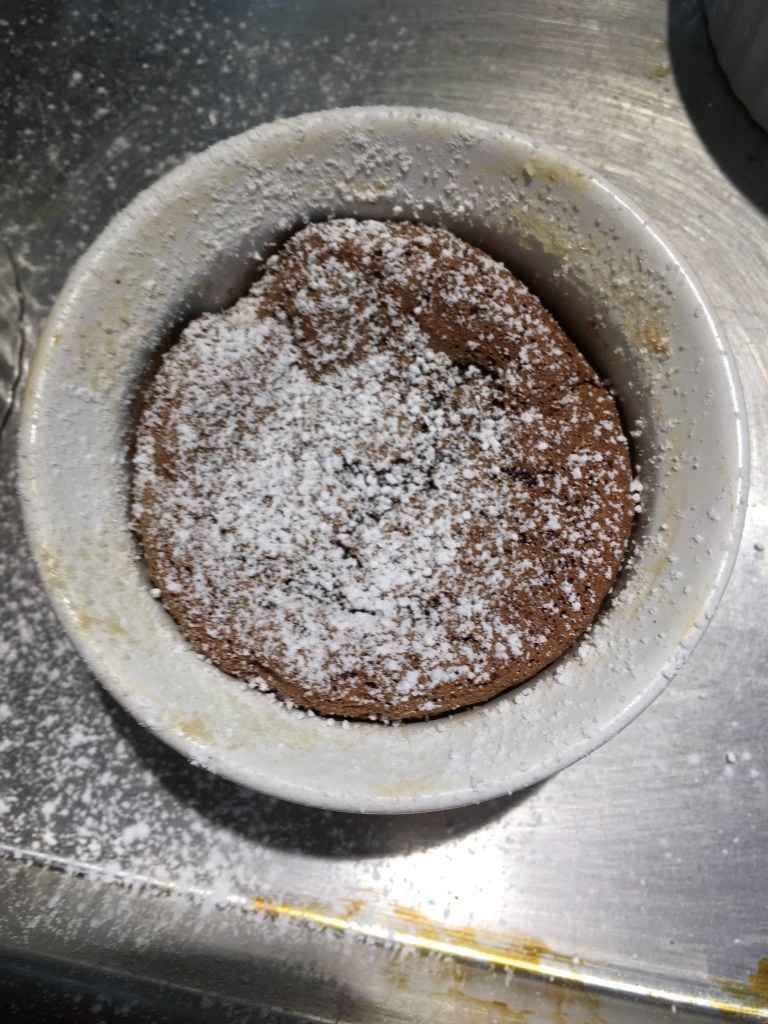
As the Soufflés cool down, they start to sink right away and lose their puffiness. So just a sprinkle of powdered sugar, and they were ready to eat.
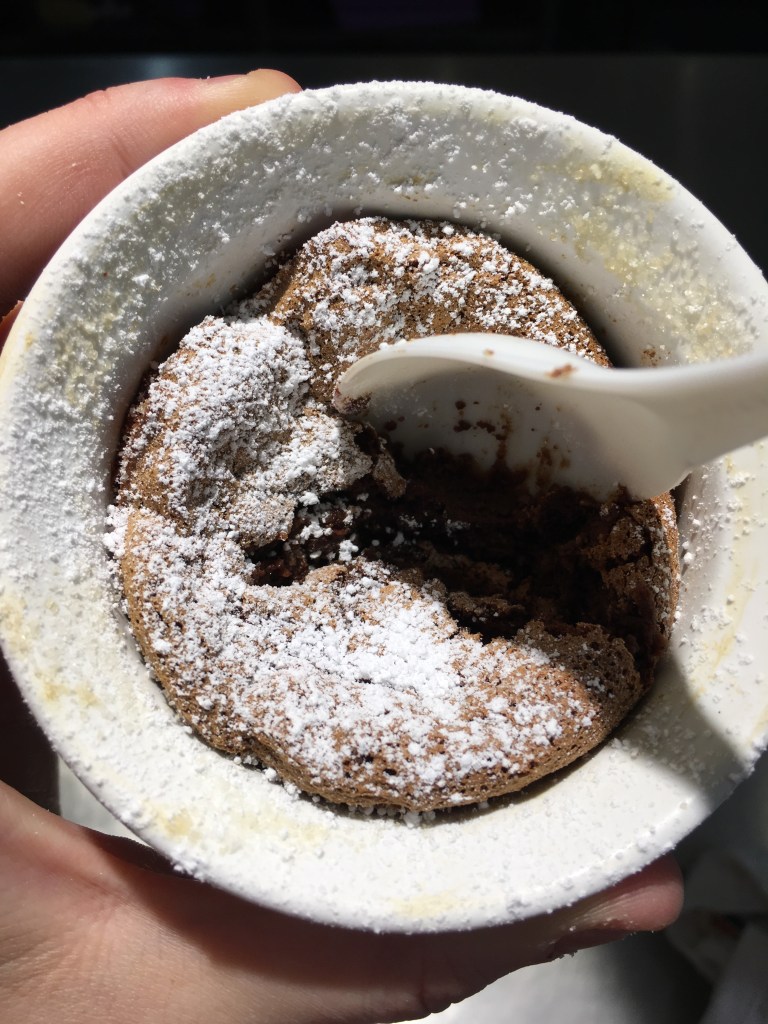
Here’s what the texture inside looked like:
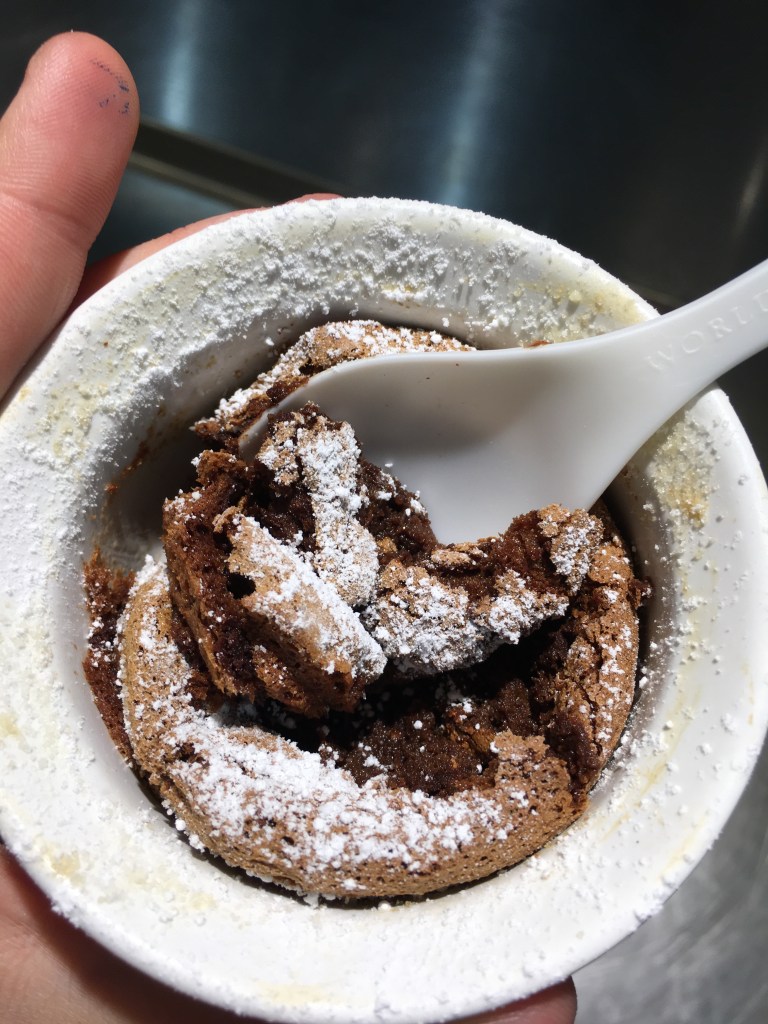
I thought they were super delicious, with a light, airy texture and deep chocolate taste. They also weren’t overly sweet, which made it easier to appreciate the delicate texture. I had a couple of my friends and Professor O’Hara try them out for me right in the kitchen. Here’s what they thought:
“I like that the edges are crispier than the middle” – Scout
“It’s moist in the middle” – Emma
“I like the different textures” – Emma
“It has a nice crackly top” – Scout
“Not super sweet – that’s nice” – Professor O’Hara
“If it was risen more it would be airier instead of layers collapsing a bit” – Scout
I think that overall, the texture provided by the stiffly whipped eggs put a lot of air into the Soufflé (although not quite as much as anticipated). This gave the dessert a light, soft texture in the middle with a crackly, easily broken top and melt-in-your-mouth experience. I would definitely like to make this recipe again and adjust my folding technique to make sure the eggs are able to do their best work to aerate the batter while it is in the oven.
This is an example post, originally published as part of Blogging University. Enroll in one of our ten programs, and start your blog right.
You’re going to publish a post today. Don’t worry about how your blog looks. Don’t worry if you haven’t given it a name yet, or you’re feeling overwhelmed. Just click the “New Post” button, and tell us why you’re here.
Why do this?
The post can be short or long, a personal intro to your life or a bloggy mission statement, a manifesto for the future or a simple outline of your the types of things you hope to publish.
To help you get started, here are a few questions:
You’re not locked into any of this; one of the wonderful things about blogs is how they constantly evolve as we learn, grow, and interact with one another — but it’s good to know where and why you started, and articulating your goals may just give you a few other post ideas.
Can’t think how to get started? Just write the first thing that pops into your head. Anne Lamott, author of a book on writing we love, says that you need to give yourself permission to write a “crappy first draft”. Anne makes a great point — just start writing, and worry about editing it later.
When you’re ready to publish, give your post three to five tags that describe your blog’s focus — writing, photography, fiction, parenting, food, cars, movies, sports, whatever. These tags will help others who care about your topics find you in the Reader. Make sure one of the tags is “zerotohero,” so other new bloggers can find you, too.
Have a WordPress.com account? Log in now.

